Well, it’s getting close to that time of year again.
Christmas is already in full swing in the supermarkets and department stores and although I won’t allow myself to be sucked into the hype this early in the year, it doesn’t hurt to be a little prepared when it comes to gifts especially if you are planning to give handmade presents.
With so much disposable tat in the shops it’s lovely to slow down and make something personal and thoughtful for our loved ones. There is a bit of a theme emerging in the studio this season with students choosing to make vintage style aprons as gifts for friends and family. You could come and make your own vintage style pinny at a weekend course, suitable for everyone from the complete beginner. Or why not treat someone to a course as a gift?
I got so carried away with this vintage apron idea that I made myself a cute little number to waltz about in my new kitchen.
Here it is…

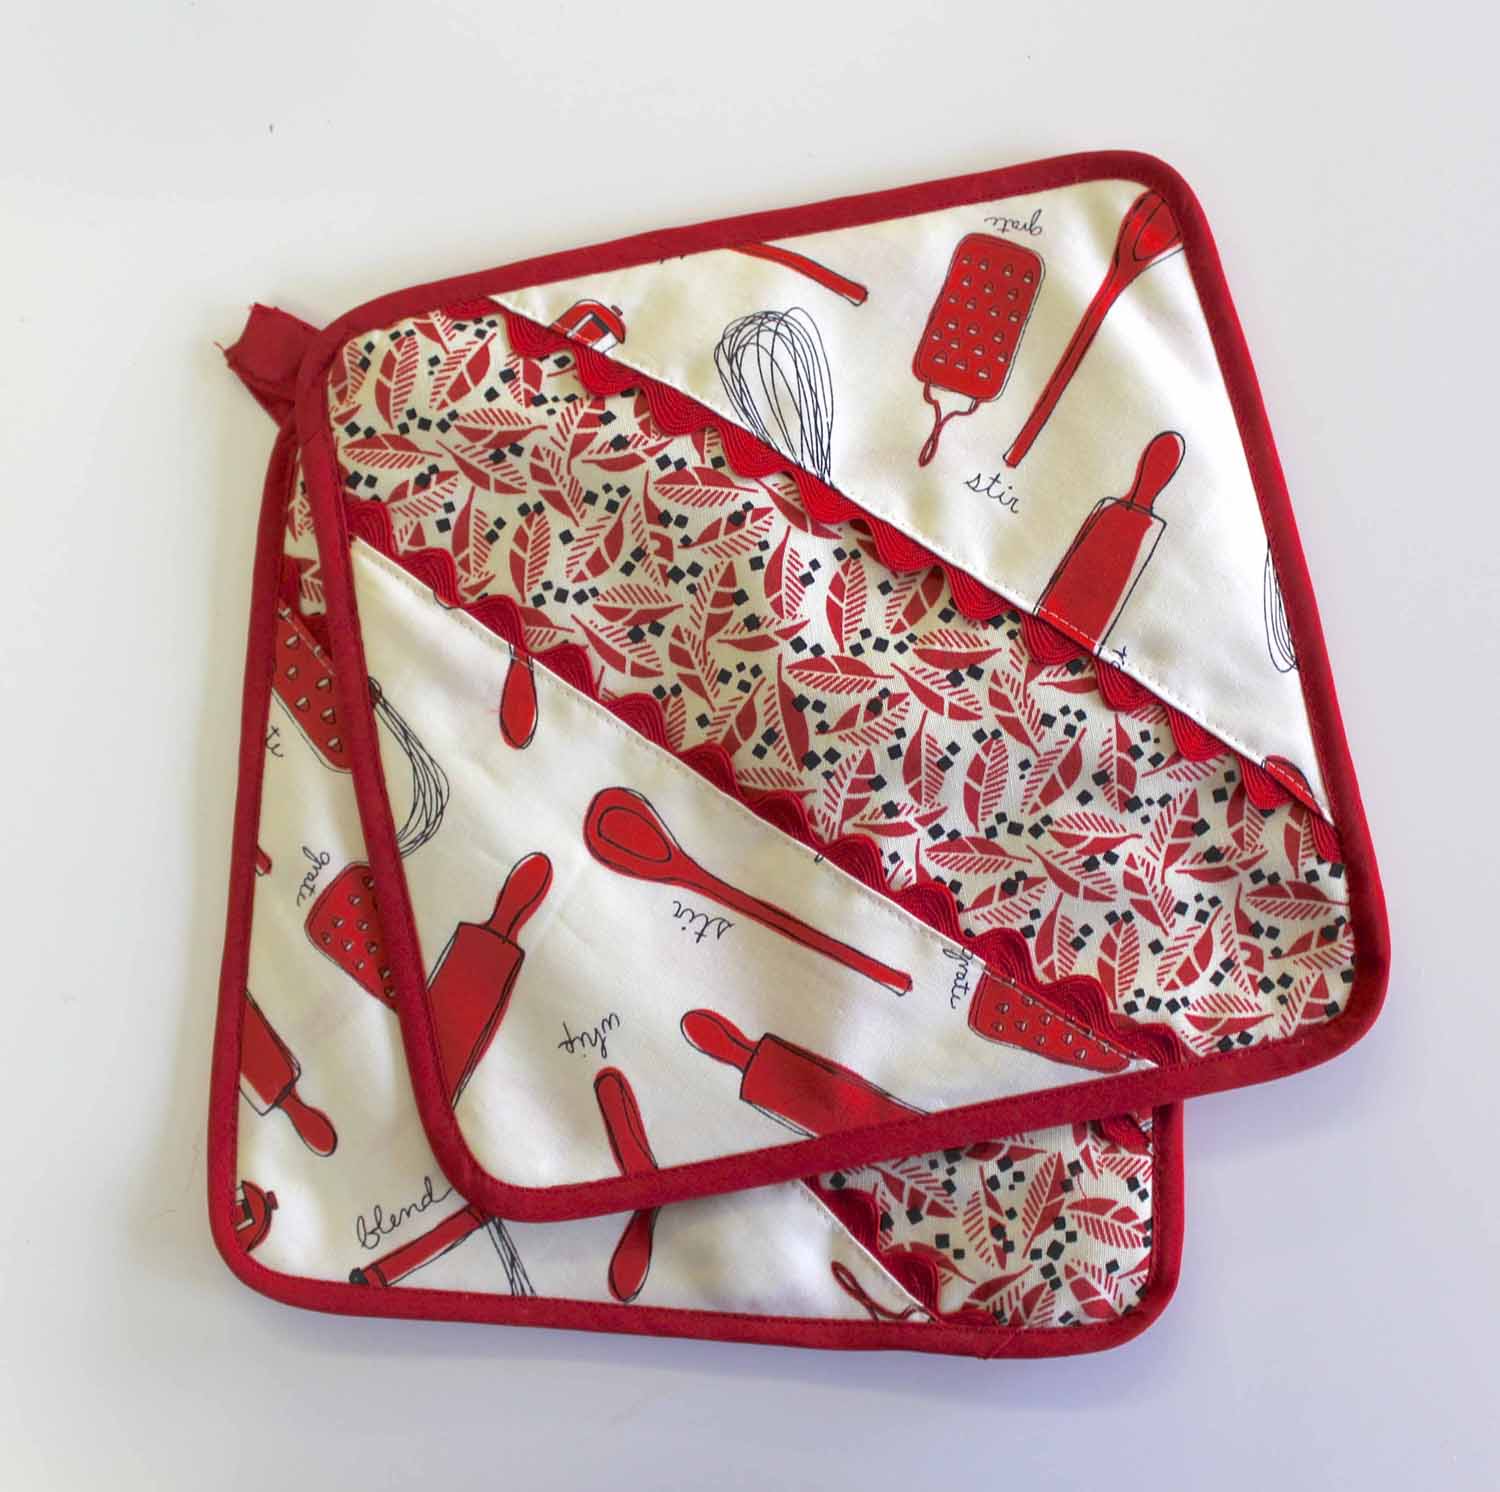
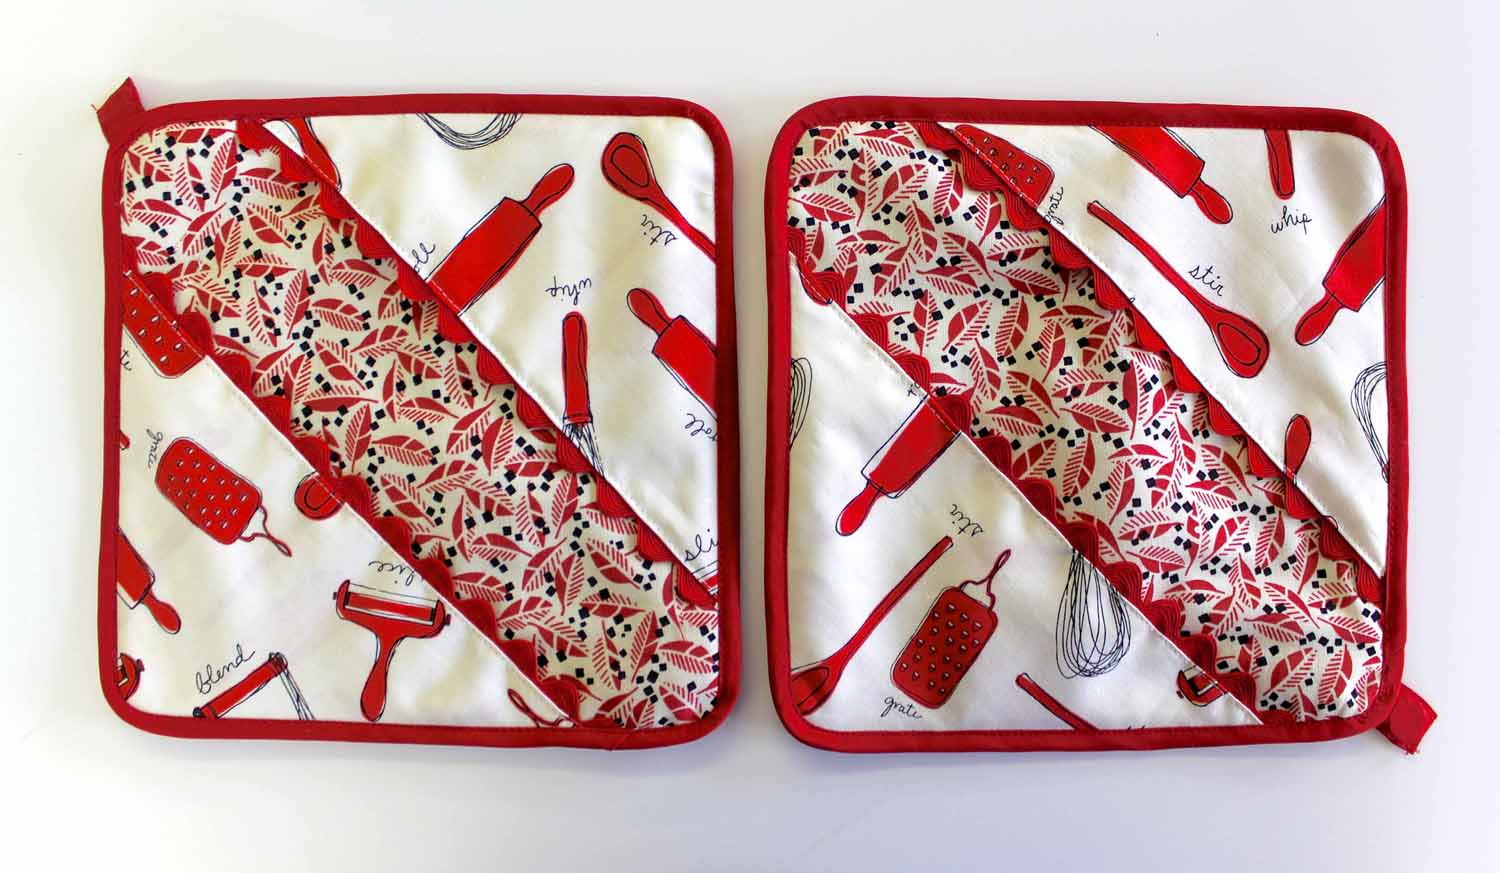
With such a smart new addition to my kitchen attire I thought it would be a good idea to create matching accessories. So here are my instructions for pot holders/textile trivets.
You will need:
Two fabrics that co-ordinate (20cm or a fat quarter of each is sufficient)
Heatproof wadding (again 20cm is enough)
Bias binding 2m
Ric rac 1m

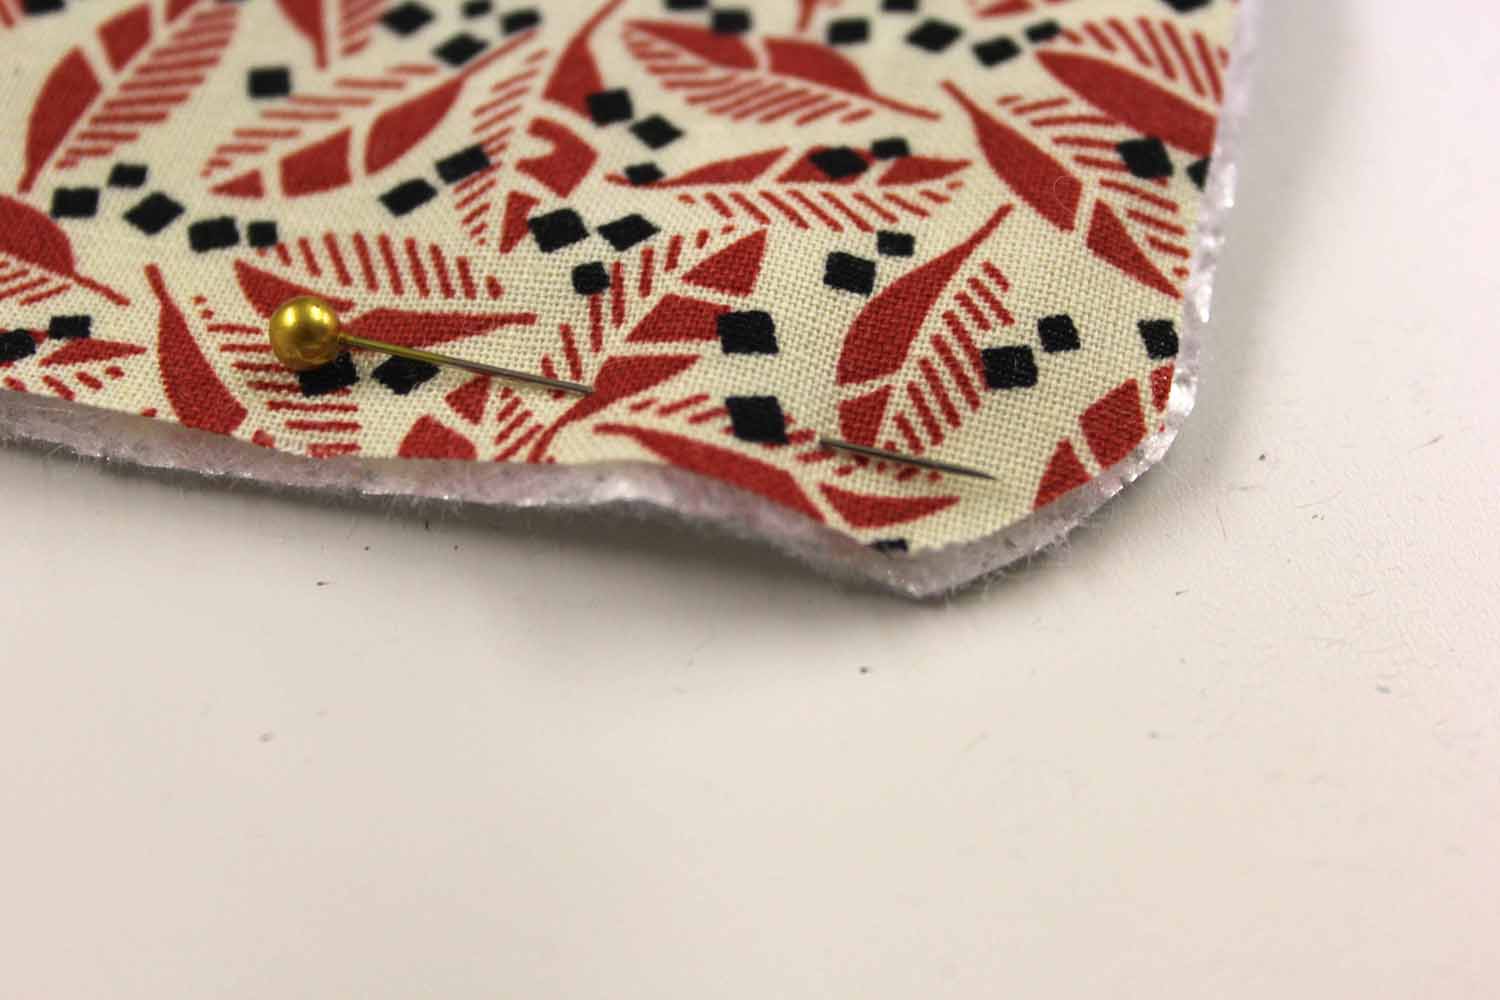
We start by drawing a square, mine is 20cm x 20cm but I’d be inclined to make it a little smaller if I was to start again, so try 17cm x 17cm…

Then round the corners off a little…

Cut out two of your squares with round corners (that sounds like something fem a Roald Dahl story!). Then on one of the squares, draw two lines running diagonally across the shape, leaving a gap of 4-5cm between the lines…

Cut out the triangles, you now have all your pattern pieces…

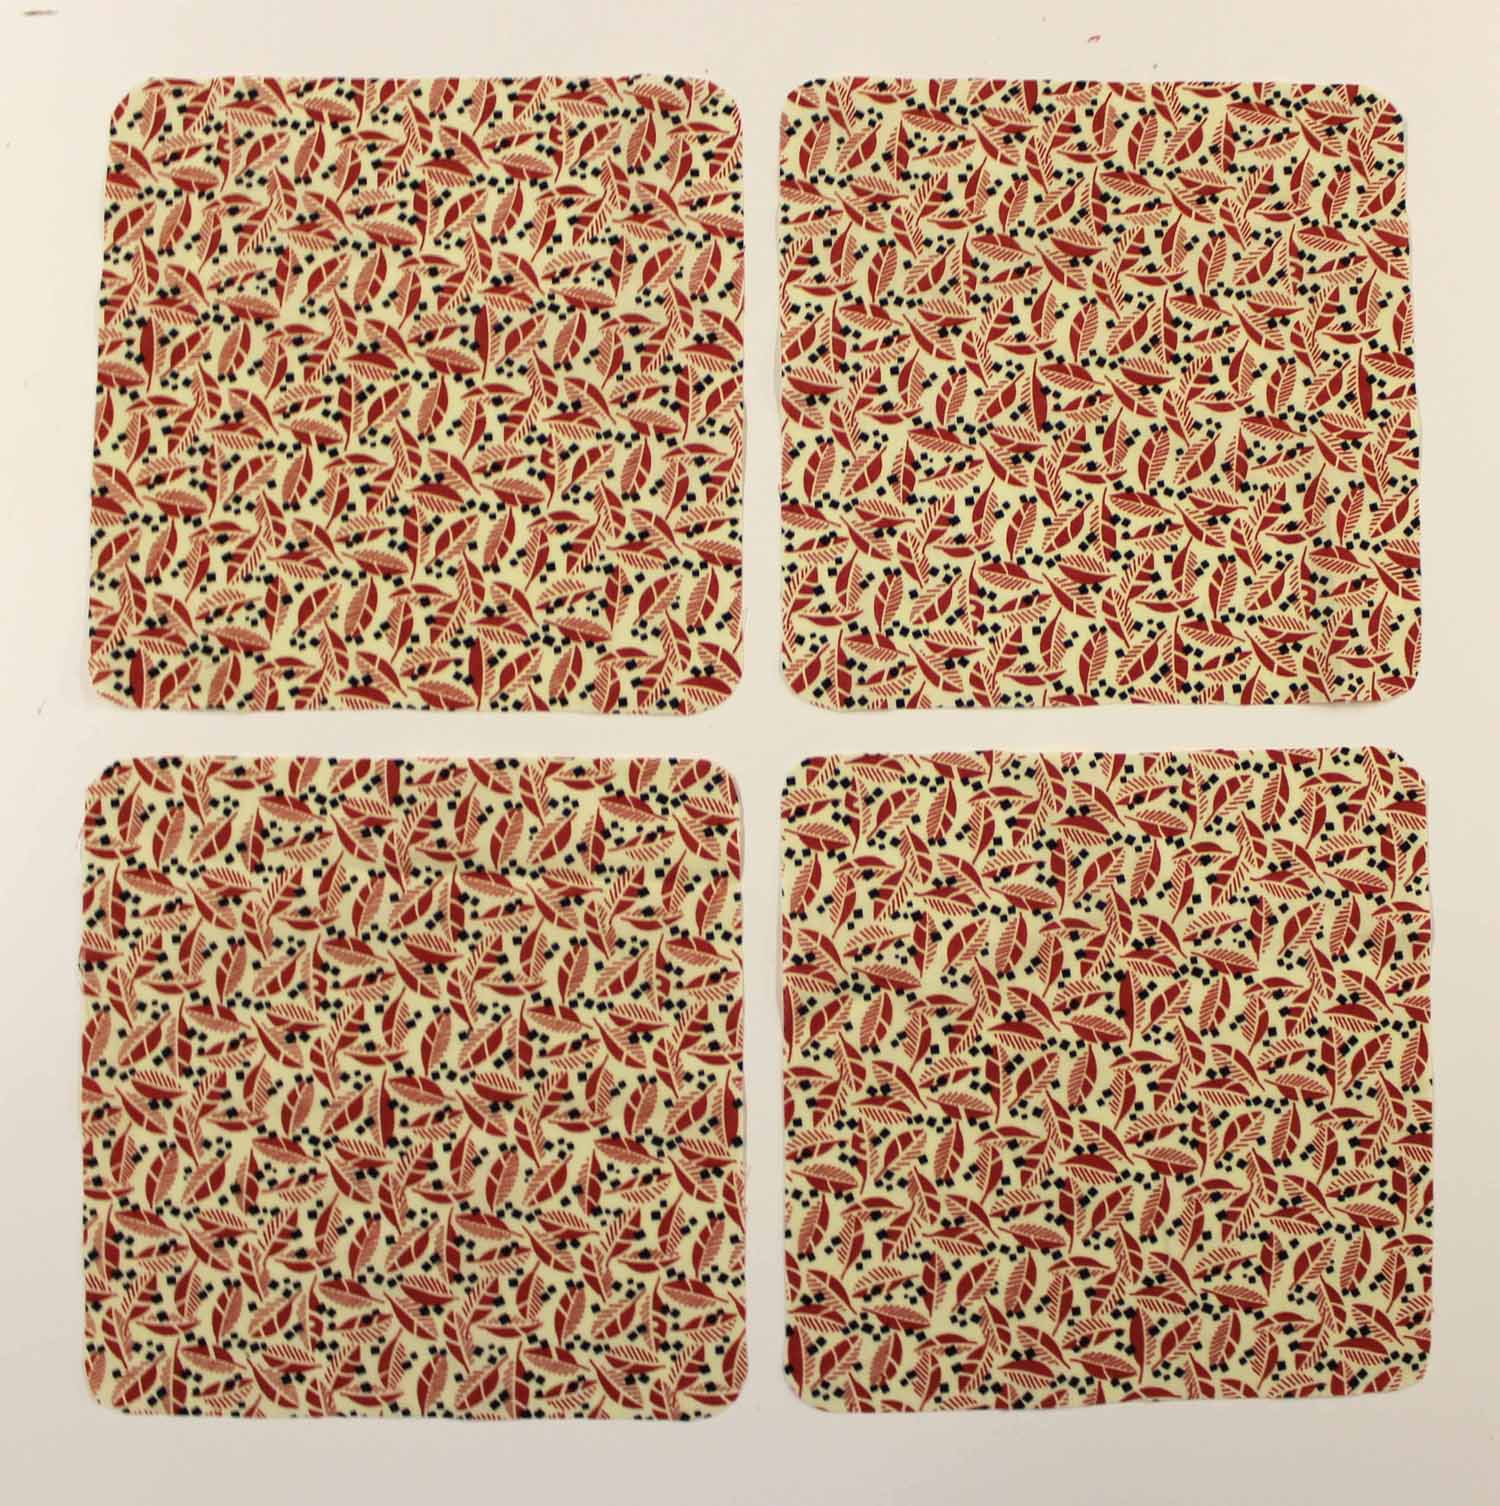
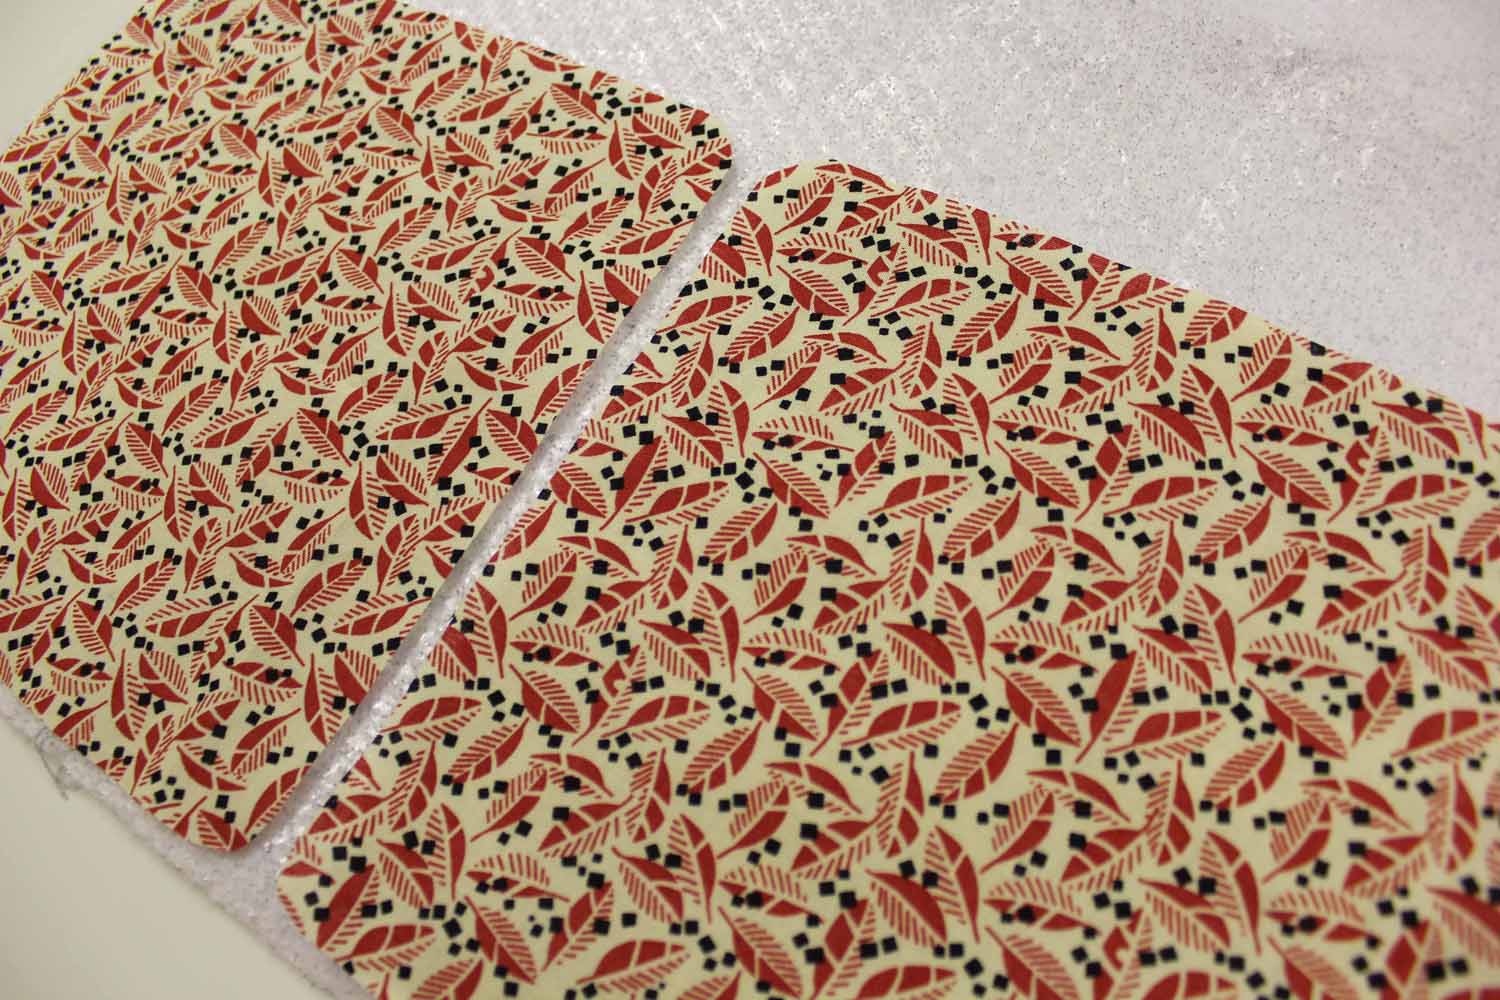
Cut four squares from your first fabric. I have chosen the darker, busier pattern as his is the side that will get the most wear and tear…

Then cut four triangles from your second fabric, laying the long edge of the folded straight grain of the fabric…


Next, pin a ric-rac trim to the folded edge of the triangle, with the edge peeking out from behind the fabric edge…

Stitch close to the edge to secure the rid-rac in place…

Lay two of your squares onto the heatproof wadding, pin and cut them out…
Now we are going to make a fabric sandwich. At the bottom lay a square wrong side up, next he heatproof wadding, then at the other square right side up, and then your two triangles, matching the corners. Pin all layers together…
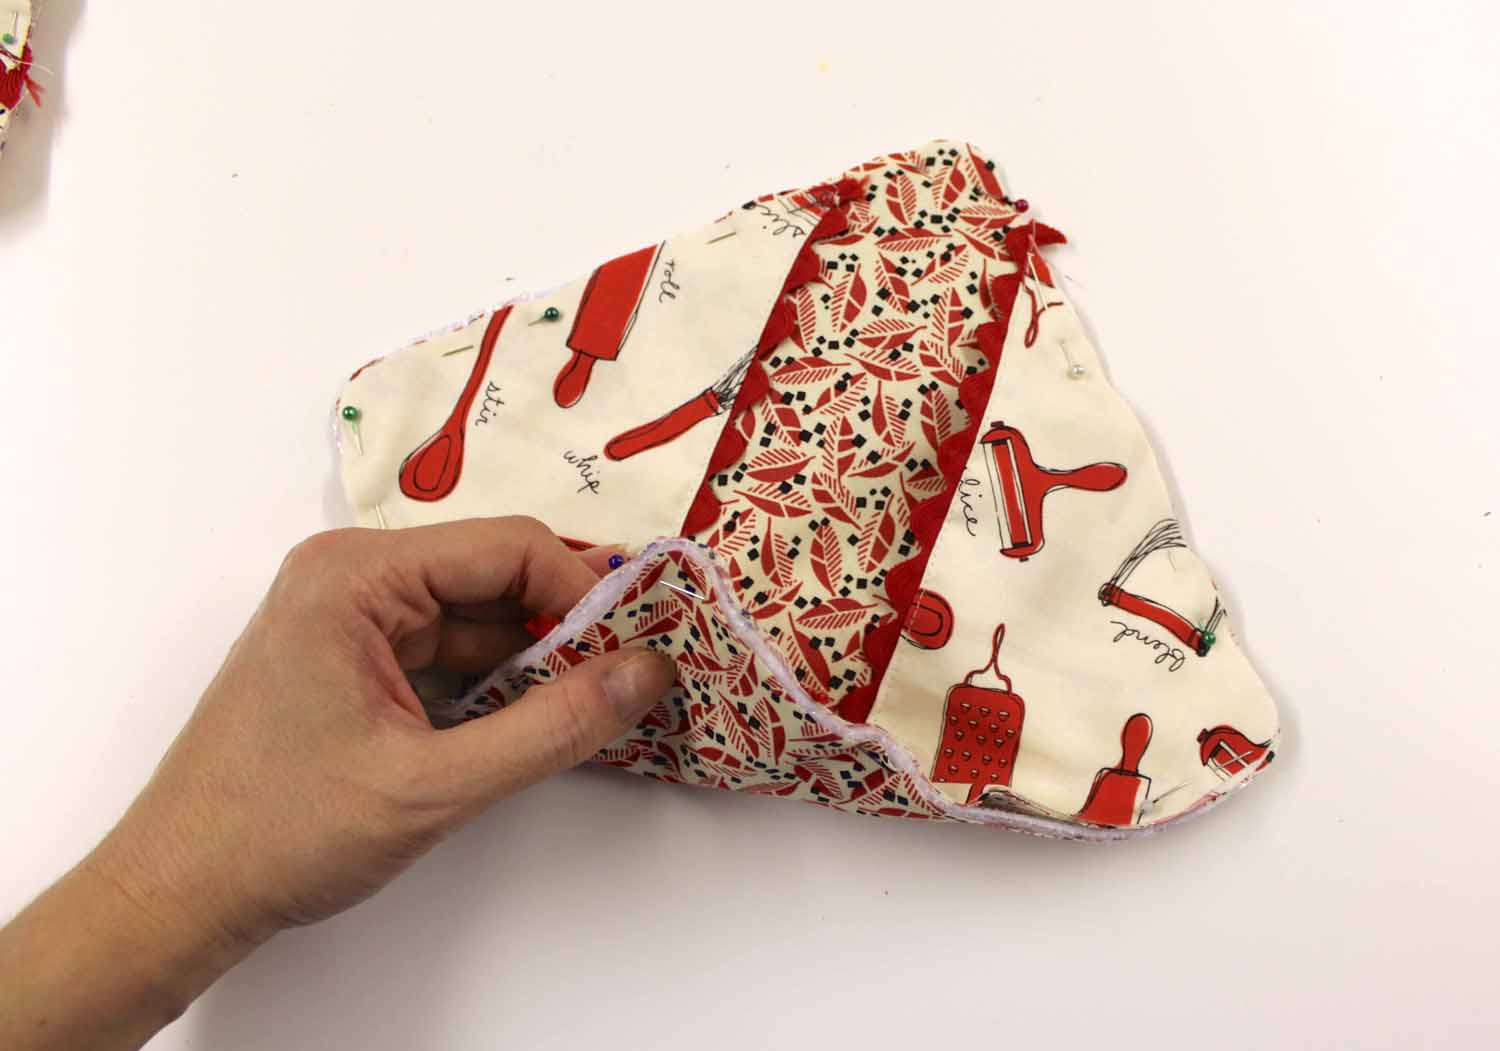
Then carefully sew all the layers together approx 3-4mm from the edge (if you wobble a bit it’s not the end of the world, but trim the raw edges back to 3-4mm)…

The next step is optional but can add a really handy feature to your pot holders. If you can get hold of a couple of small magnets you can keep your potholders attached to the fridge or cooker for ease of use. I have used corsage magnets that I picked up from a florist, they are REALLY strong…

Sew a little pocket from bias binding by folding a short length back on itself and stitching really close to the sides, leaving the end open. Then pop the magnet inside ready to be sewn to the potholder…

Apply bias binding to the edge of the sandwich. Unfold one edge of the binding and line up all the raw edges placing the right side of the binding facing the plain side of the sandwich. If you are adding magnets, pop the open end of the tab under the edge of the binding now. Stitch in the crease of the binding…

Wrap the binding round the raw edges and pin over the top of the first row of stitching where the binding is attached…

Your stitching should sit nice and close to the edge of the binding…

And there you have it, cute little pot holders. A lovely inexpensive gift for Christmas!