
Two winters ago I cut out a coat in some beautiful grey wool that I bought in Ditto, but time was not on my side and Spring had sprung (twice) before I’d finished sewing. The coat pieces were relegated to a carrier bag and banished to the piles of denial beneath the cutting table. Although I don’t make New Year’s resolutions I did promise myself that this year I’d try to finish some of my started projects and not leave anything hanging around in bags gathering dust.
So it’s been my mission this week to get this coat finished. I’m hoping to wear it tomorrow on our class trip to London, there’s nothing like a deadline!
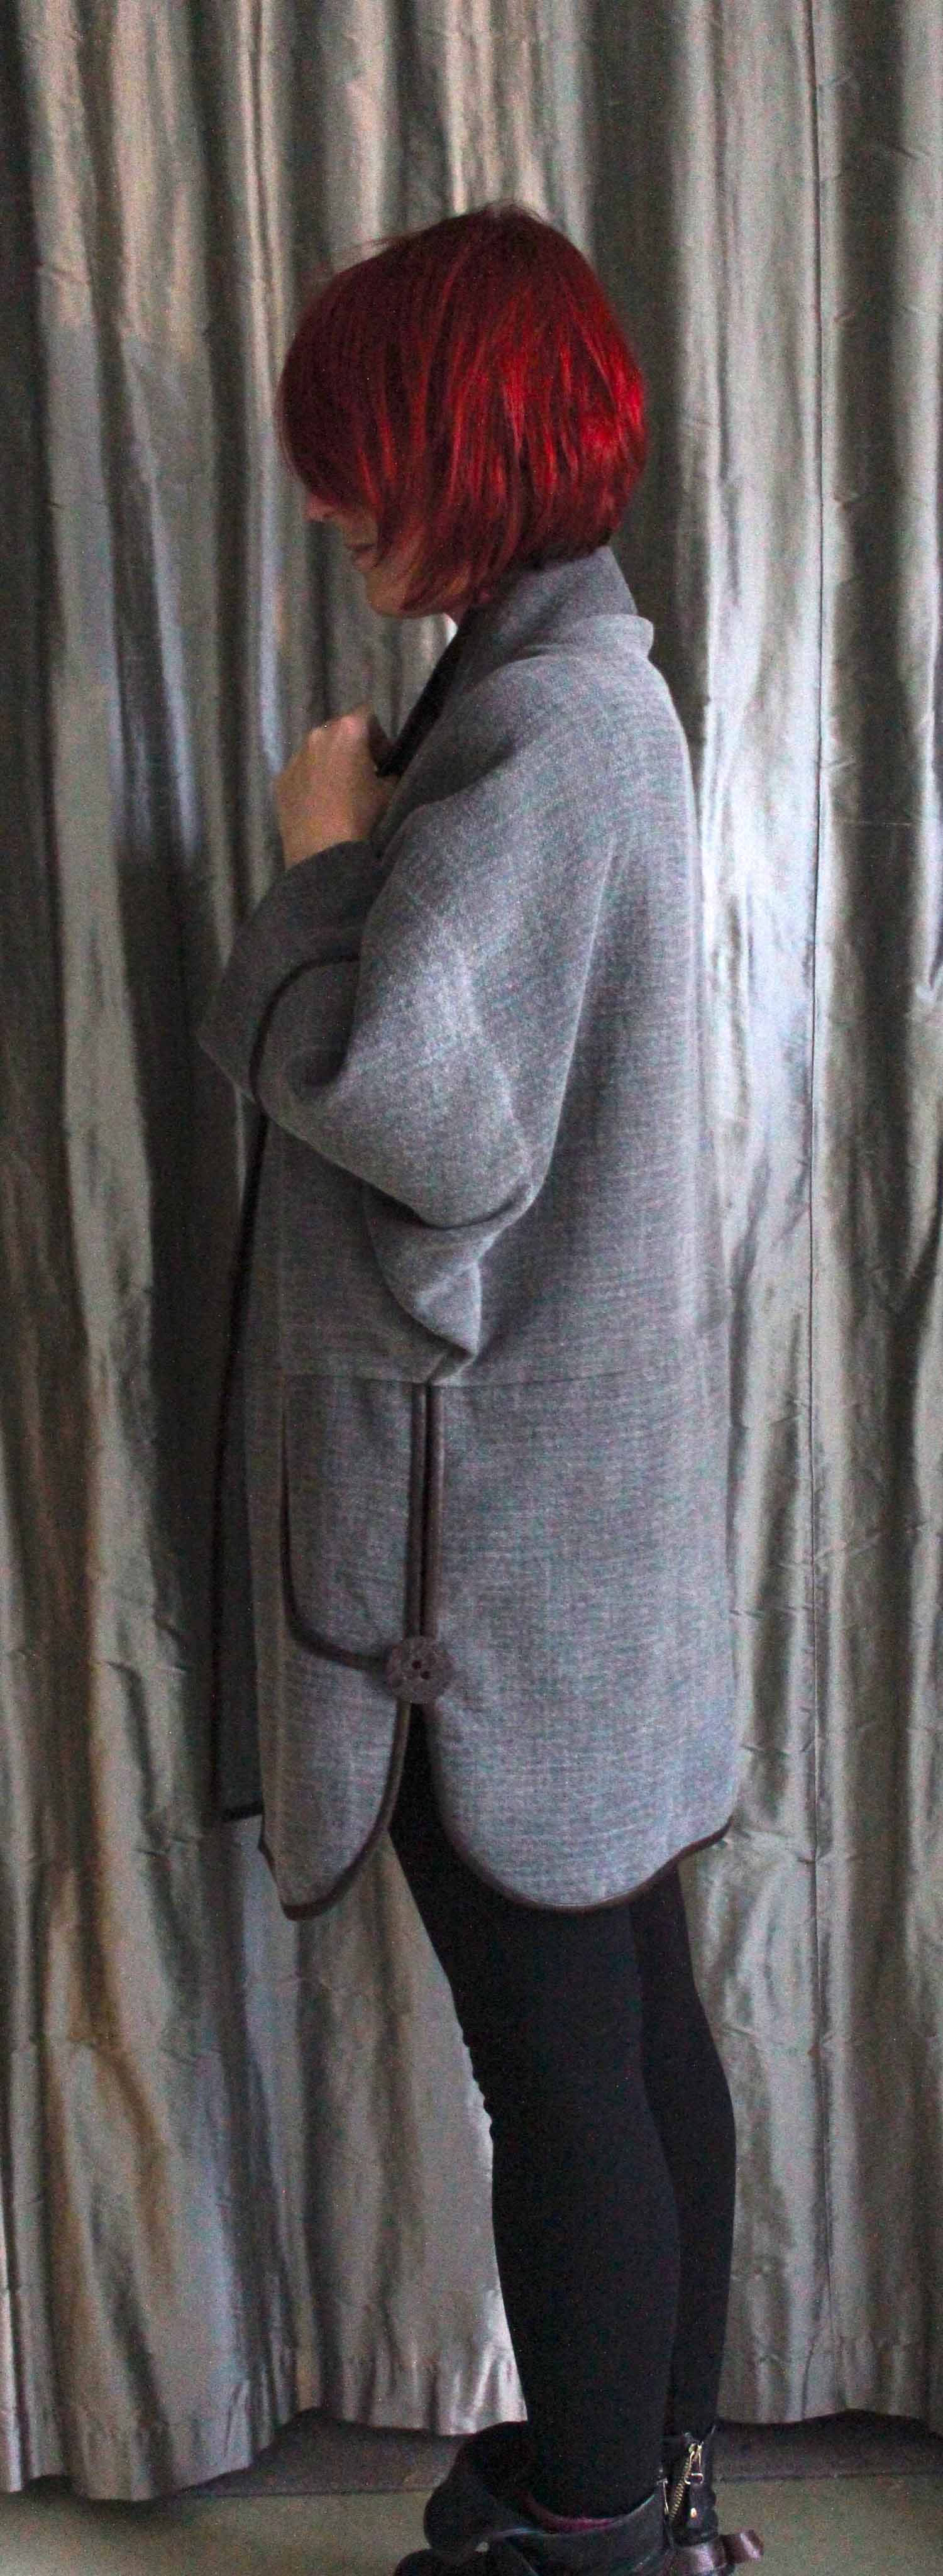
And here’s the finished article, I really rather like it, what do you think?

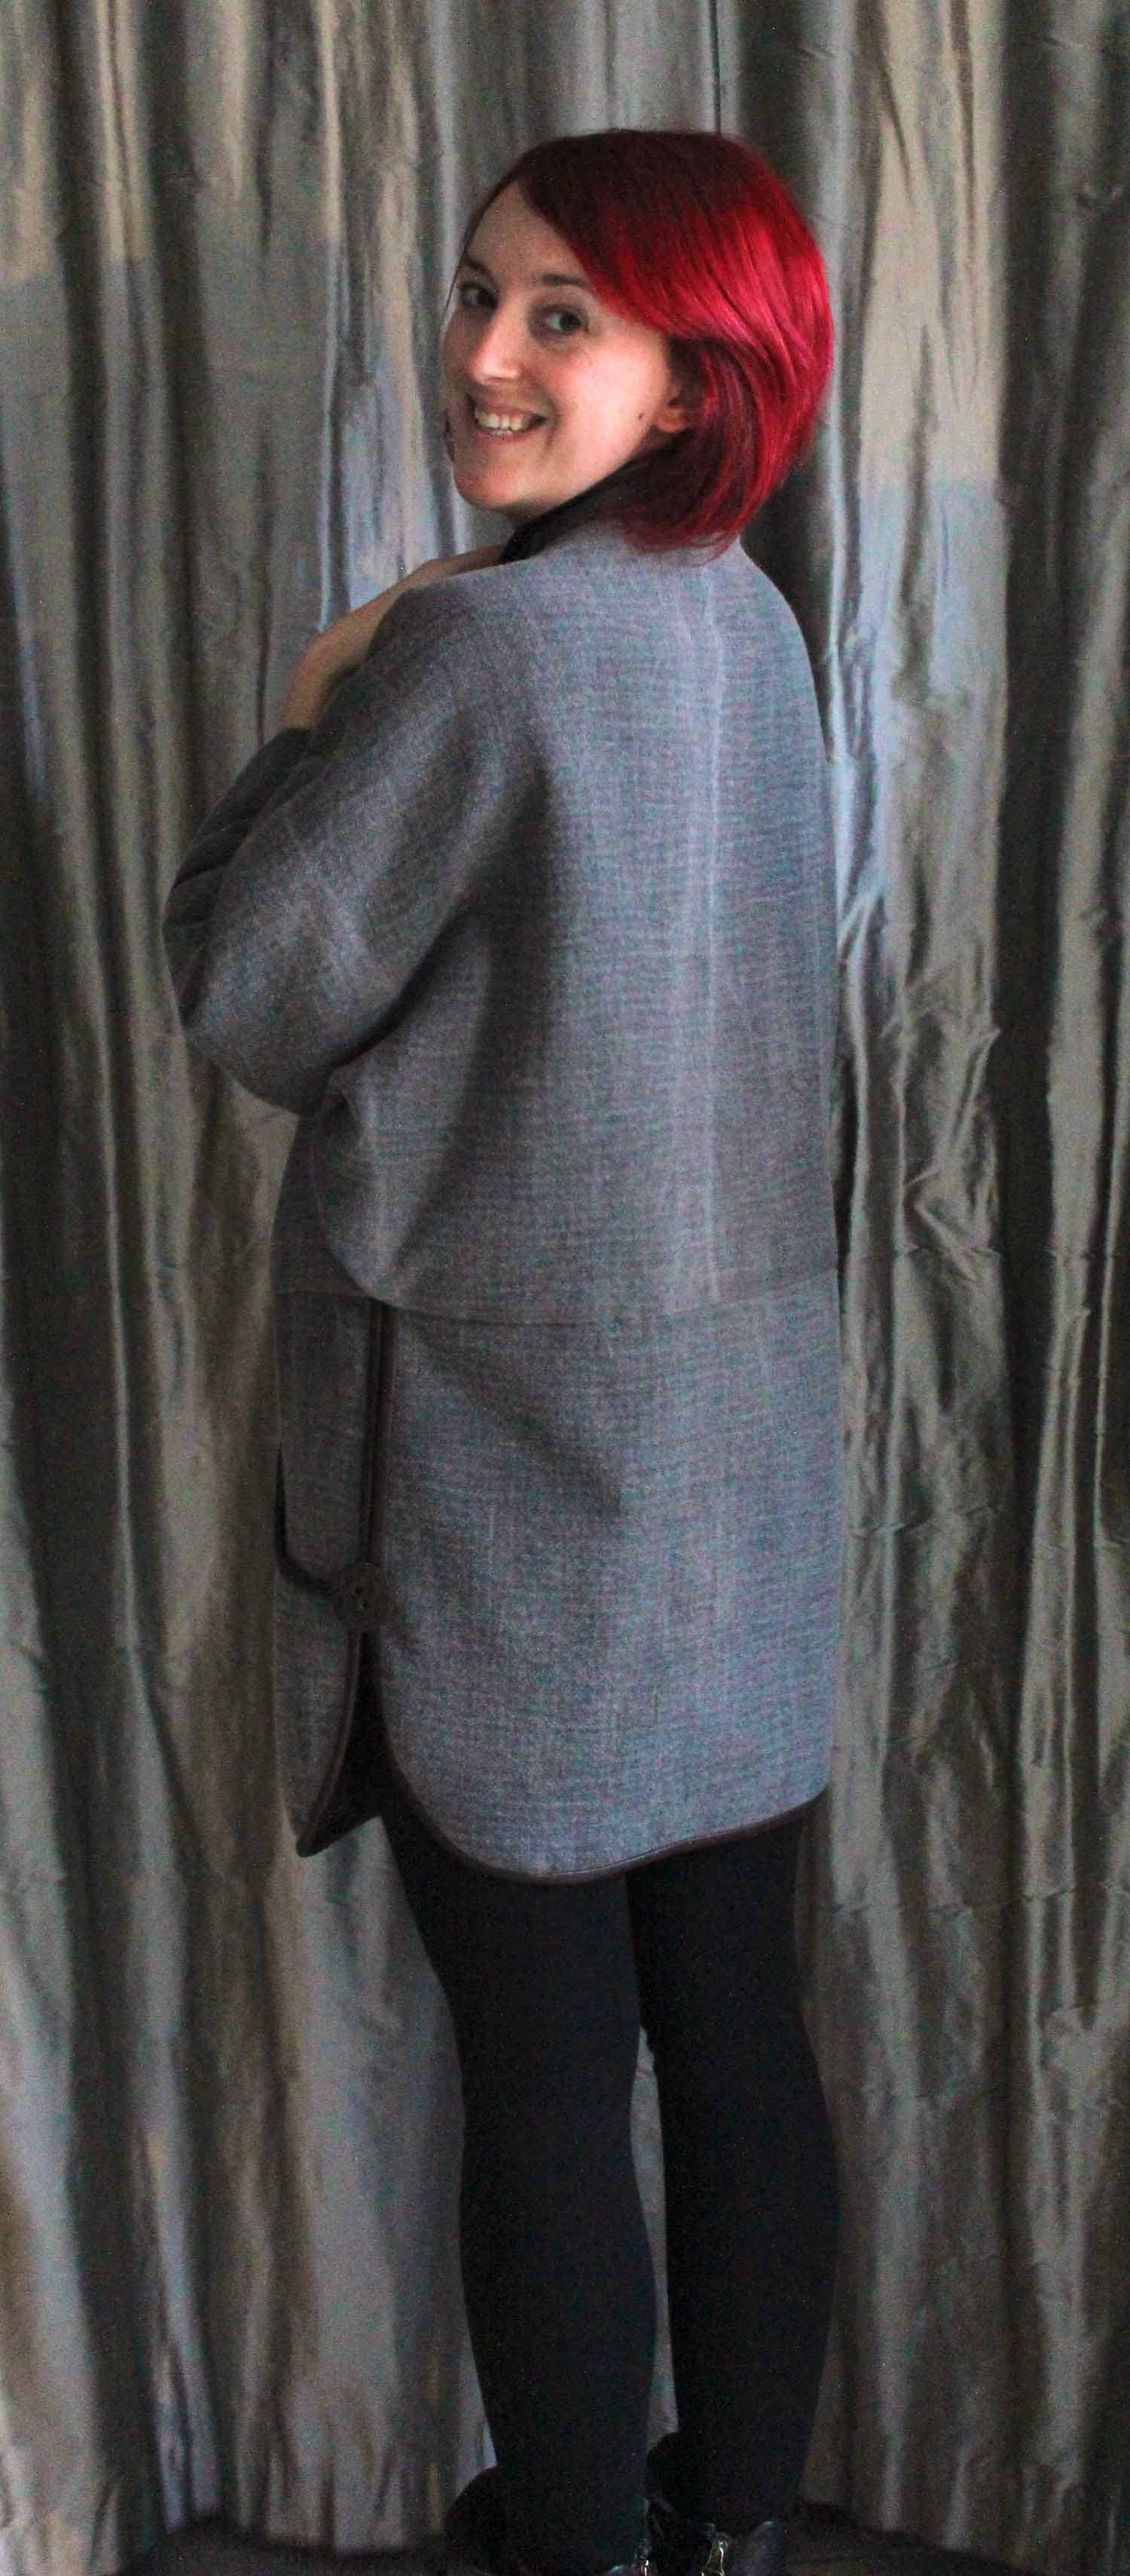
The pattern I used was Burda 7131, option B.

As ever, I didn’t quite stick to the pattern (I added a lining – which involved cutting extra pattern pieces), making this project far more time consuming than it needed to be (will I ever learn?).
As this project was started two years ago, I can’t give you a step by step on adding a lining but I can show you how to add the leather binding.
I saw these stonking pressed leather buttons and just had to have them for my coat, so hunted down a fine leather in bitter chocolate to use for the binding.
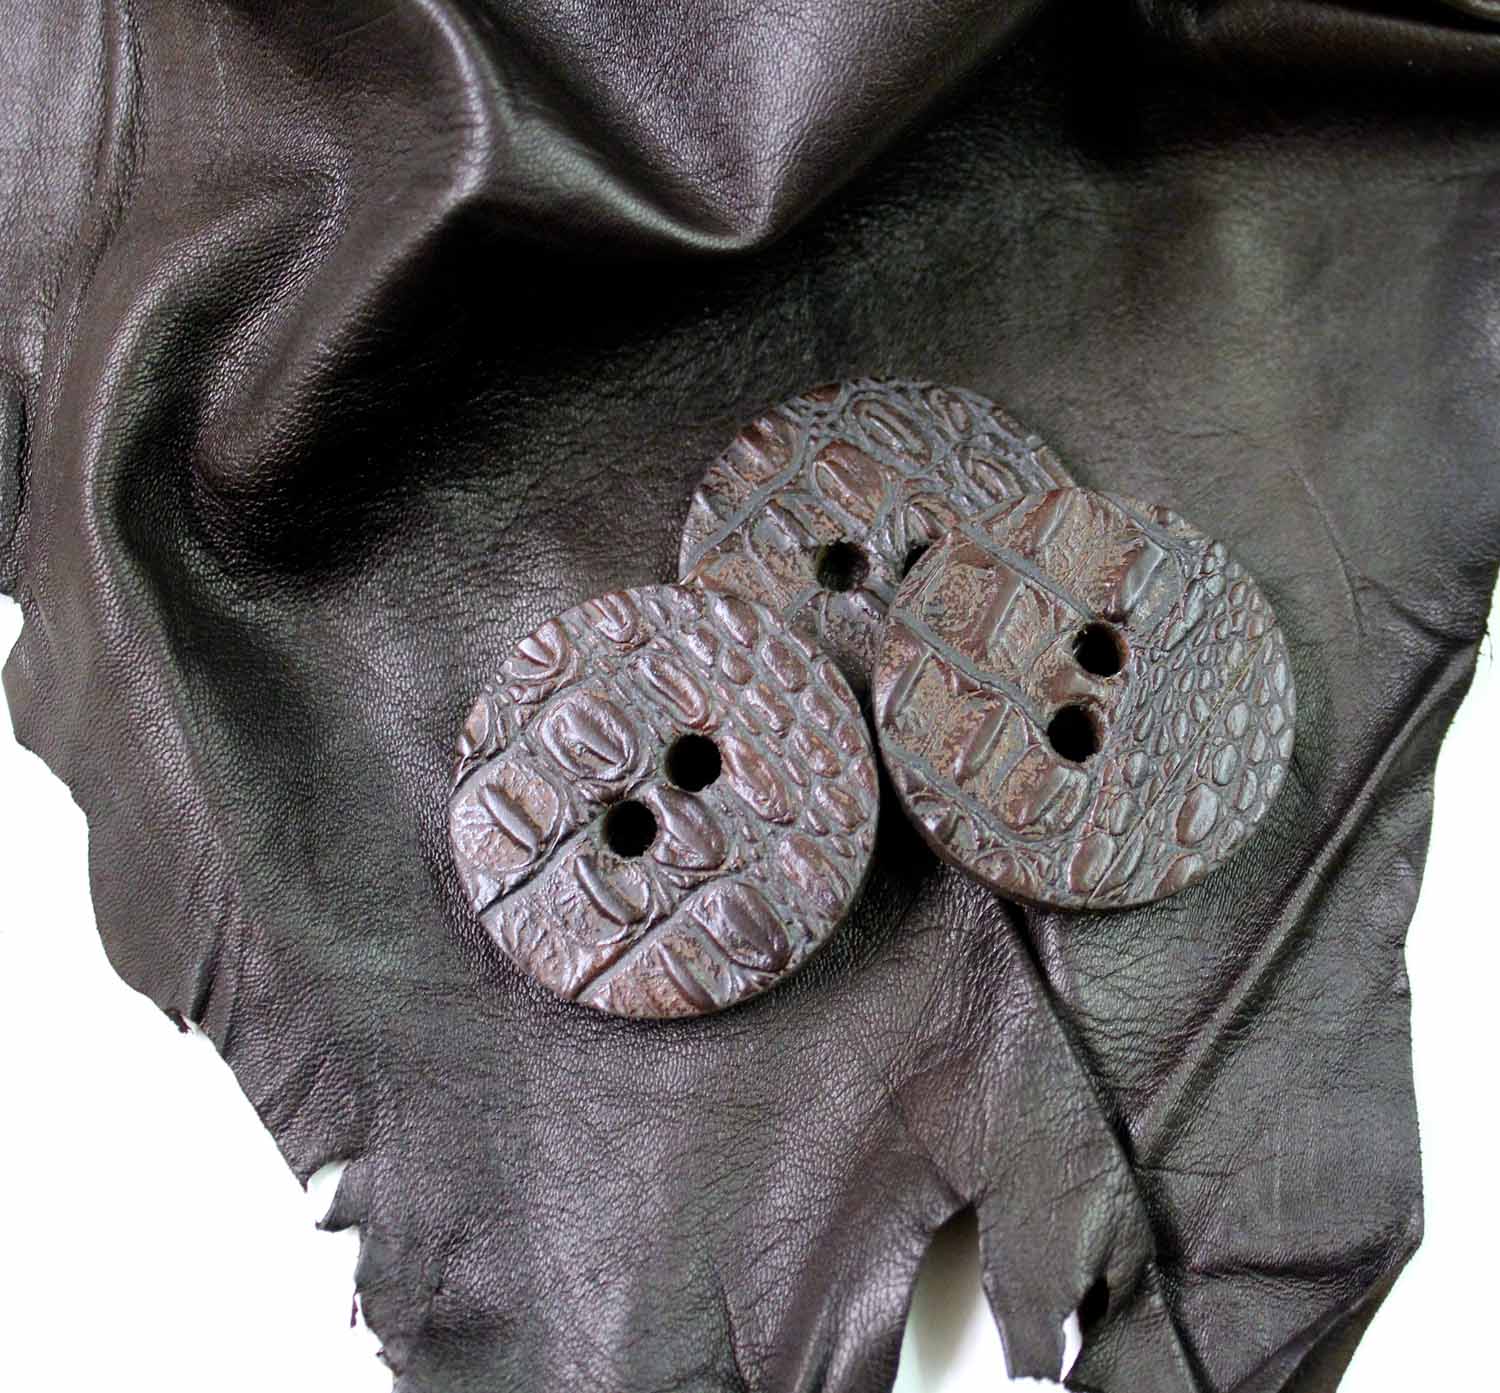
A tip for buying leather: as leather and suede are natural products there will be irregularities in the surface texture, always check the piece for flaws and little holes and make sure there is enough space to cut your desired shapes, this may mean using several skins, in which case look carefully to make sure the weight, colour and hand (the way it feels) are all as similar as possible.
Leather binding
On the back of your leather (or faux leather) use a biro or dressmaking pencil to mark out parallel lines approx 11/2 inches/ 4cm apart…
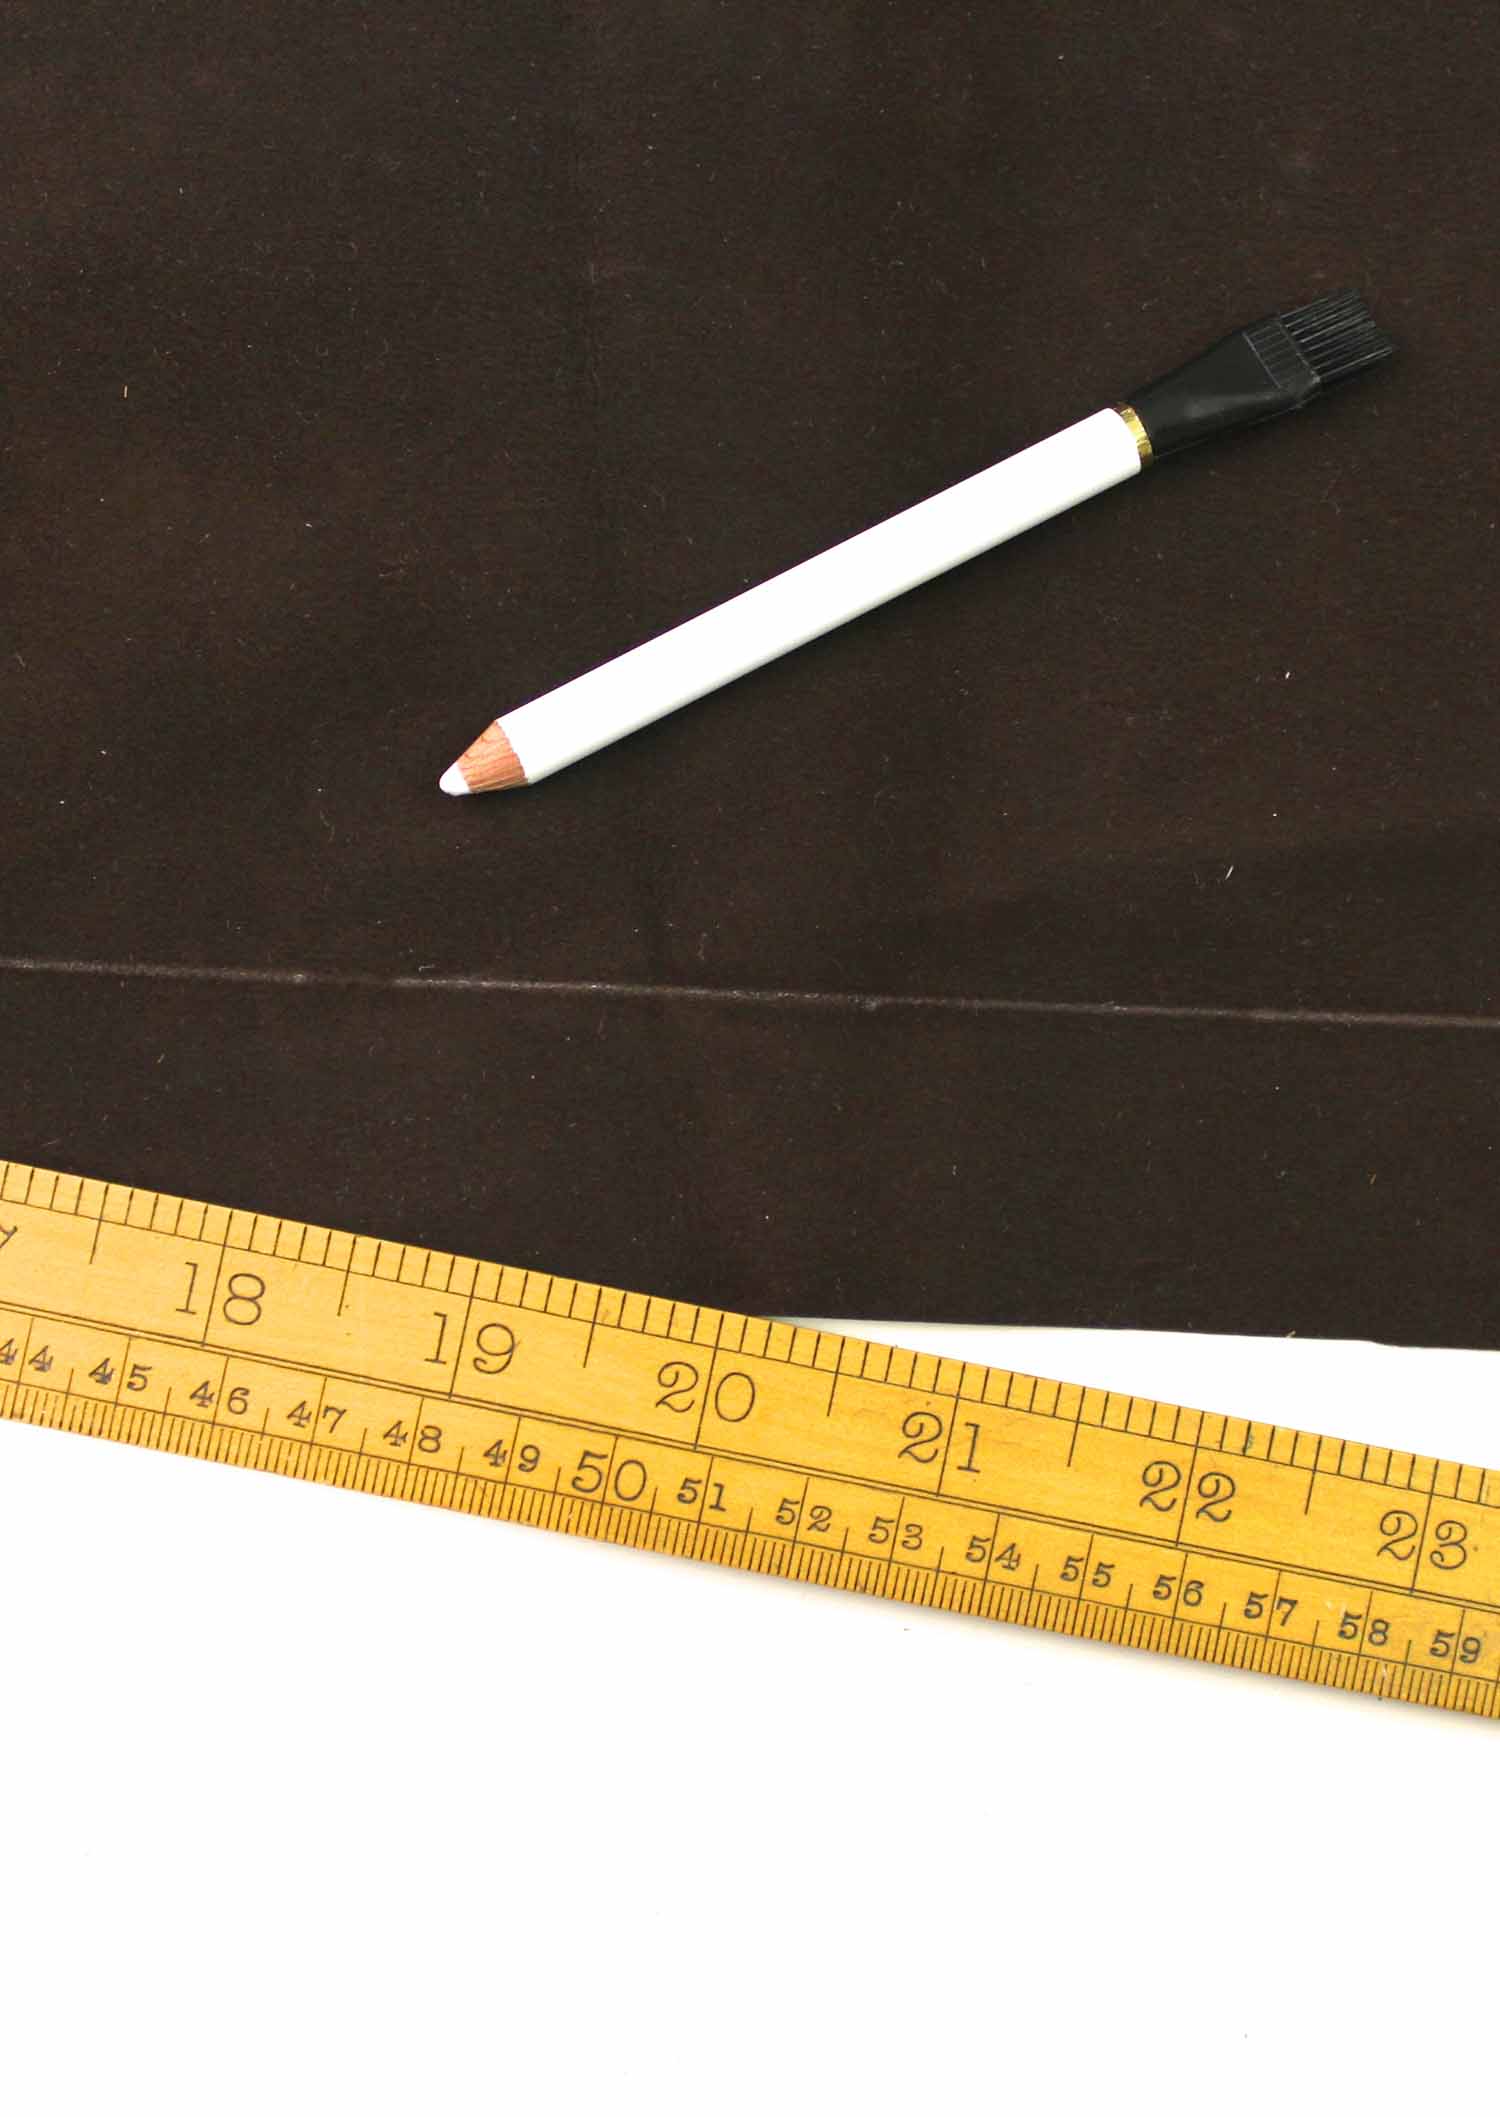
Carefully cut along the lines as smoothly as possible…

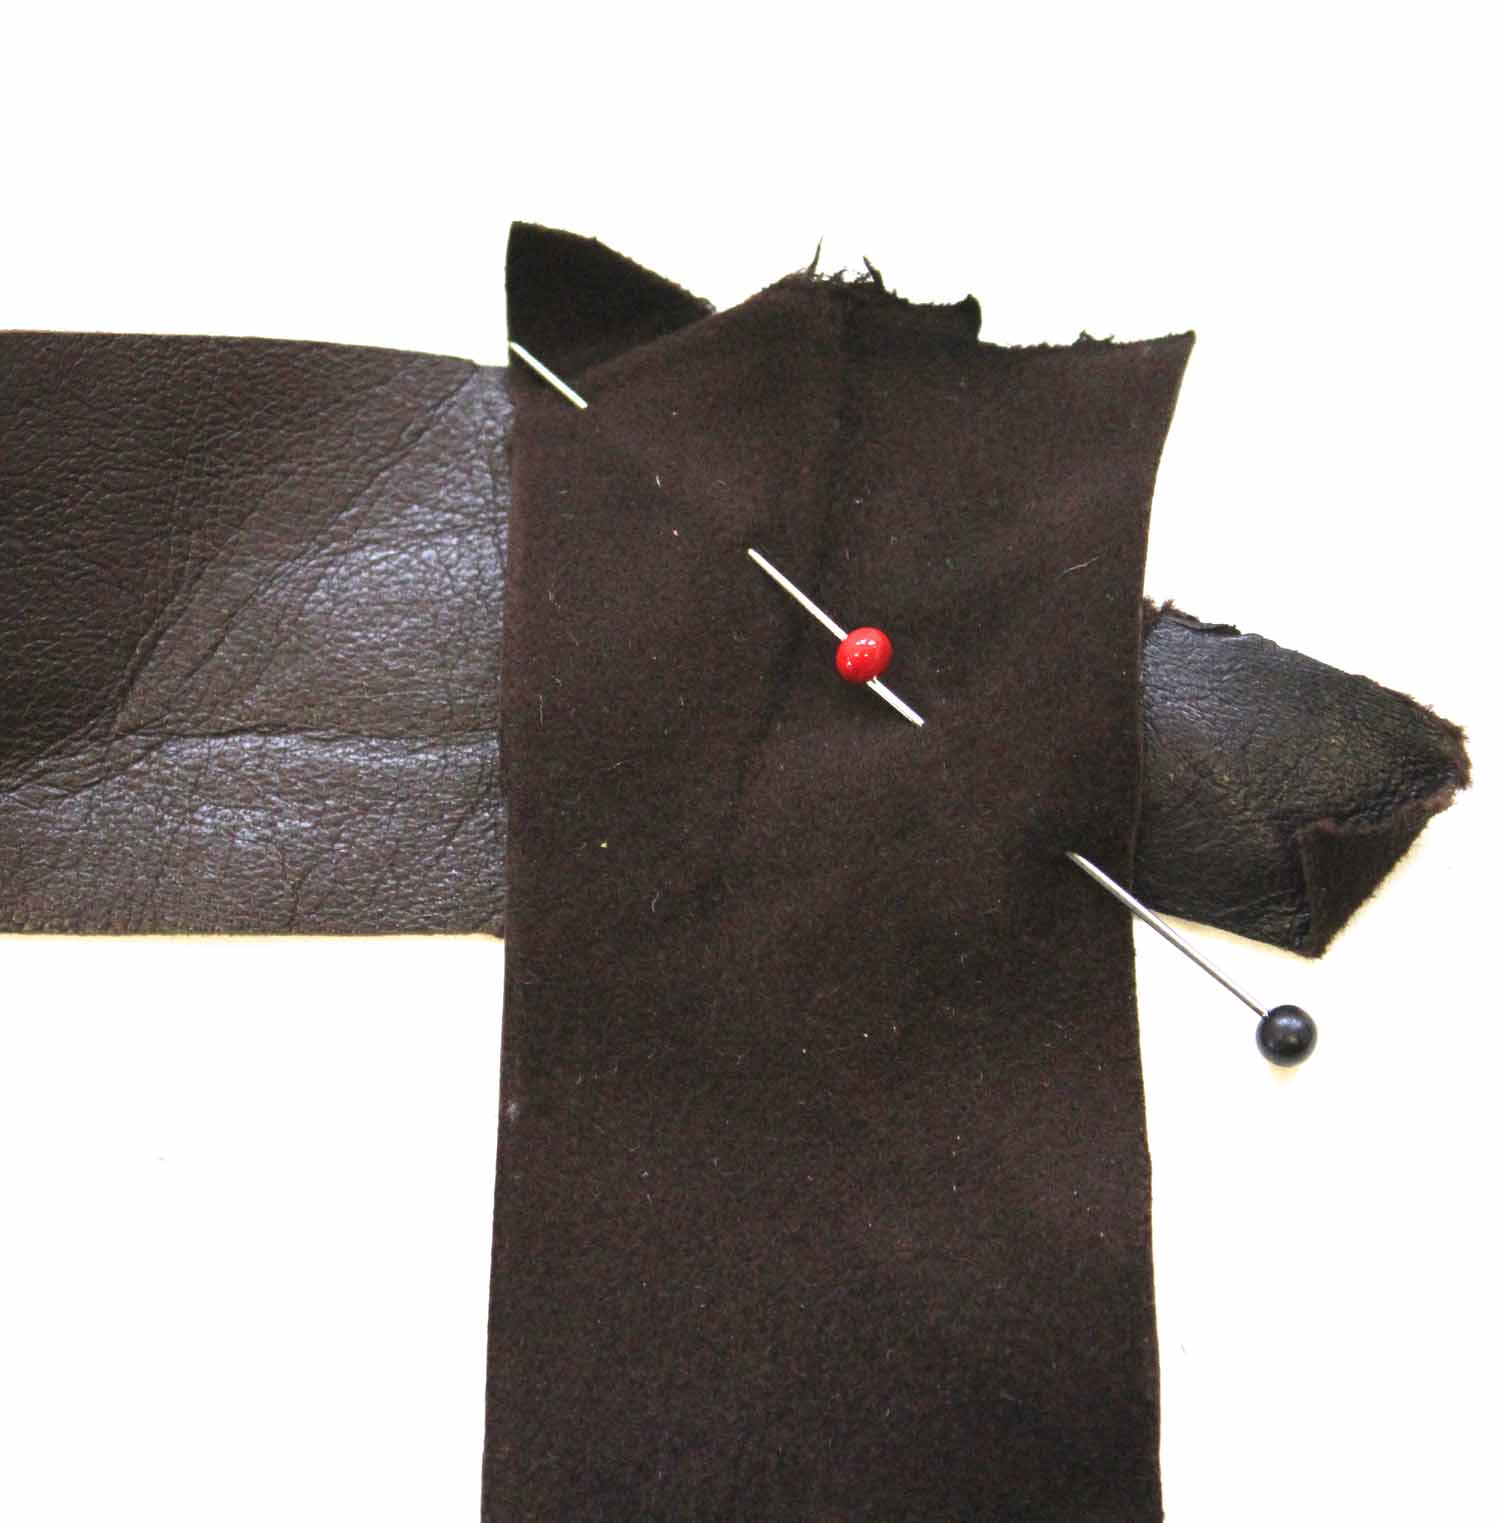
Now we need to make the binding into one long strip, so it’s ready to apply as binding. Join the lengths together by laying them right sides together at a right angle to one another, pin diagonally from exactly where the edges overlap…
Stitch along the pinned line then snip away the excess. Press the allowances open using a pressing cloth to avoid scorching the leather (or melting the faux leather)…

Just before you attach the binding, prepare the raw edges of your garment. Assuming that your pattern has a 1.5cm/ 5/8 inch seam allowance, secure the layers together with a row of stitching 2cm/ 3/4inch in from the raw edge, then trim the seam allowance leaving you a freshly cut edge with stitching close to the desired finished edge…

Apply the binding to your cut edge by laying the garment and binding right sides facing. Pin and stitch 1cm/ 1/2 inch from the raw edges.
If you have corners on your garment, don’t try to apply binding all the way around the edges in one go. Just bind the hem edge first, we’ll do the other edges in a bit.
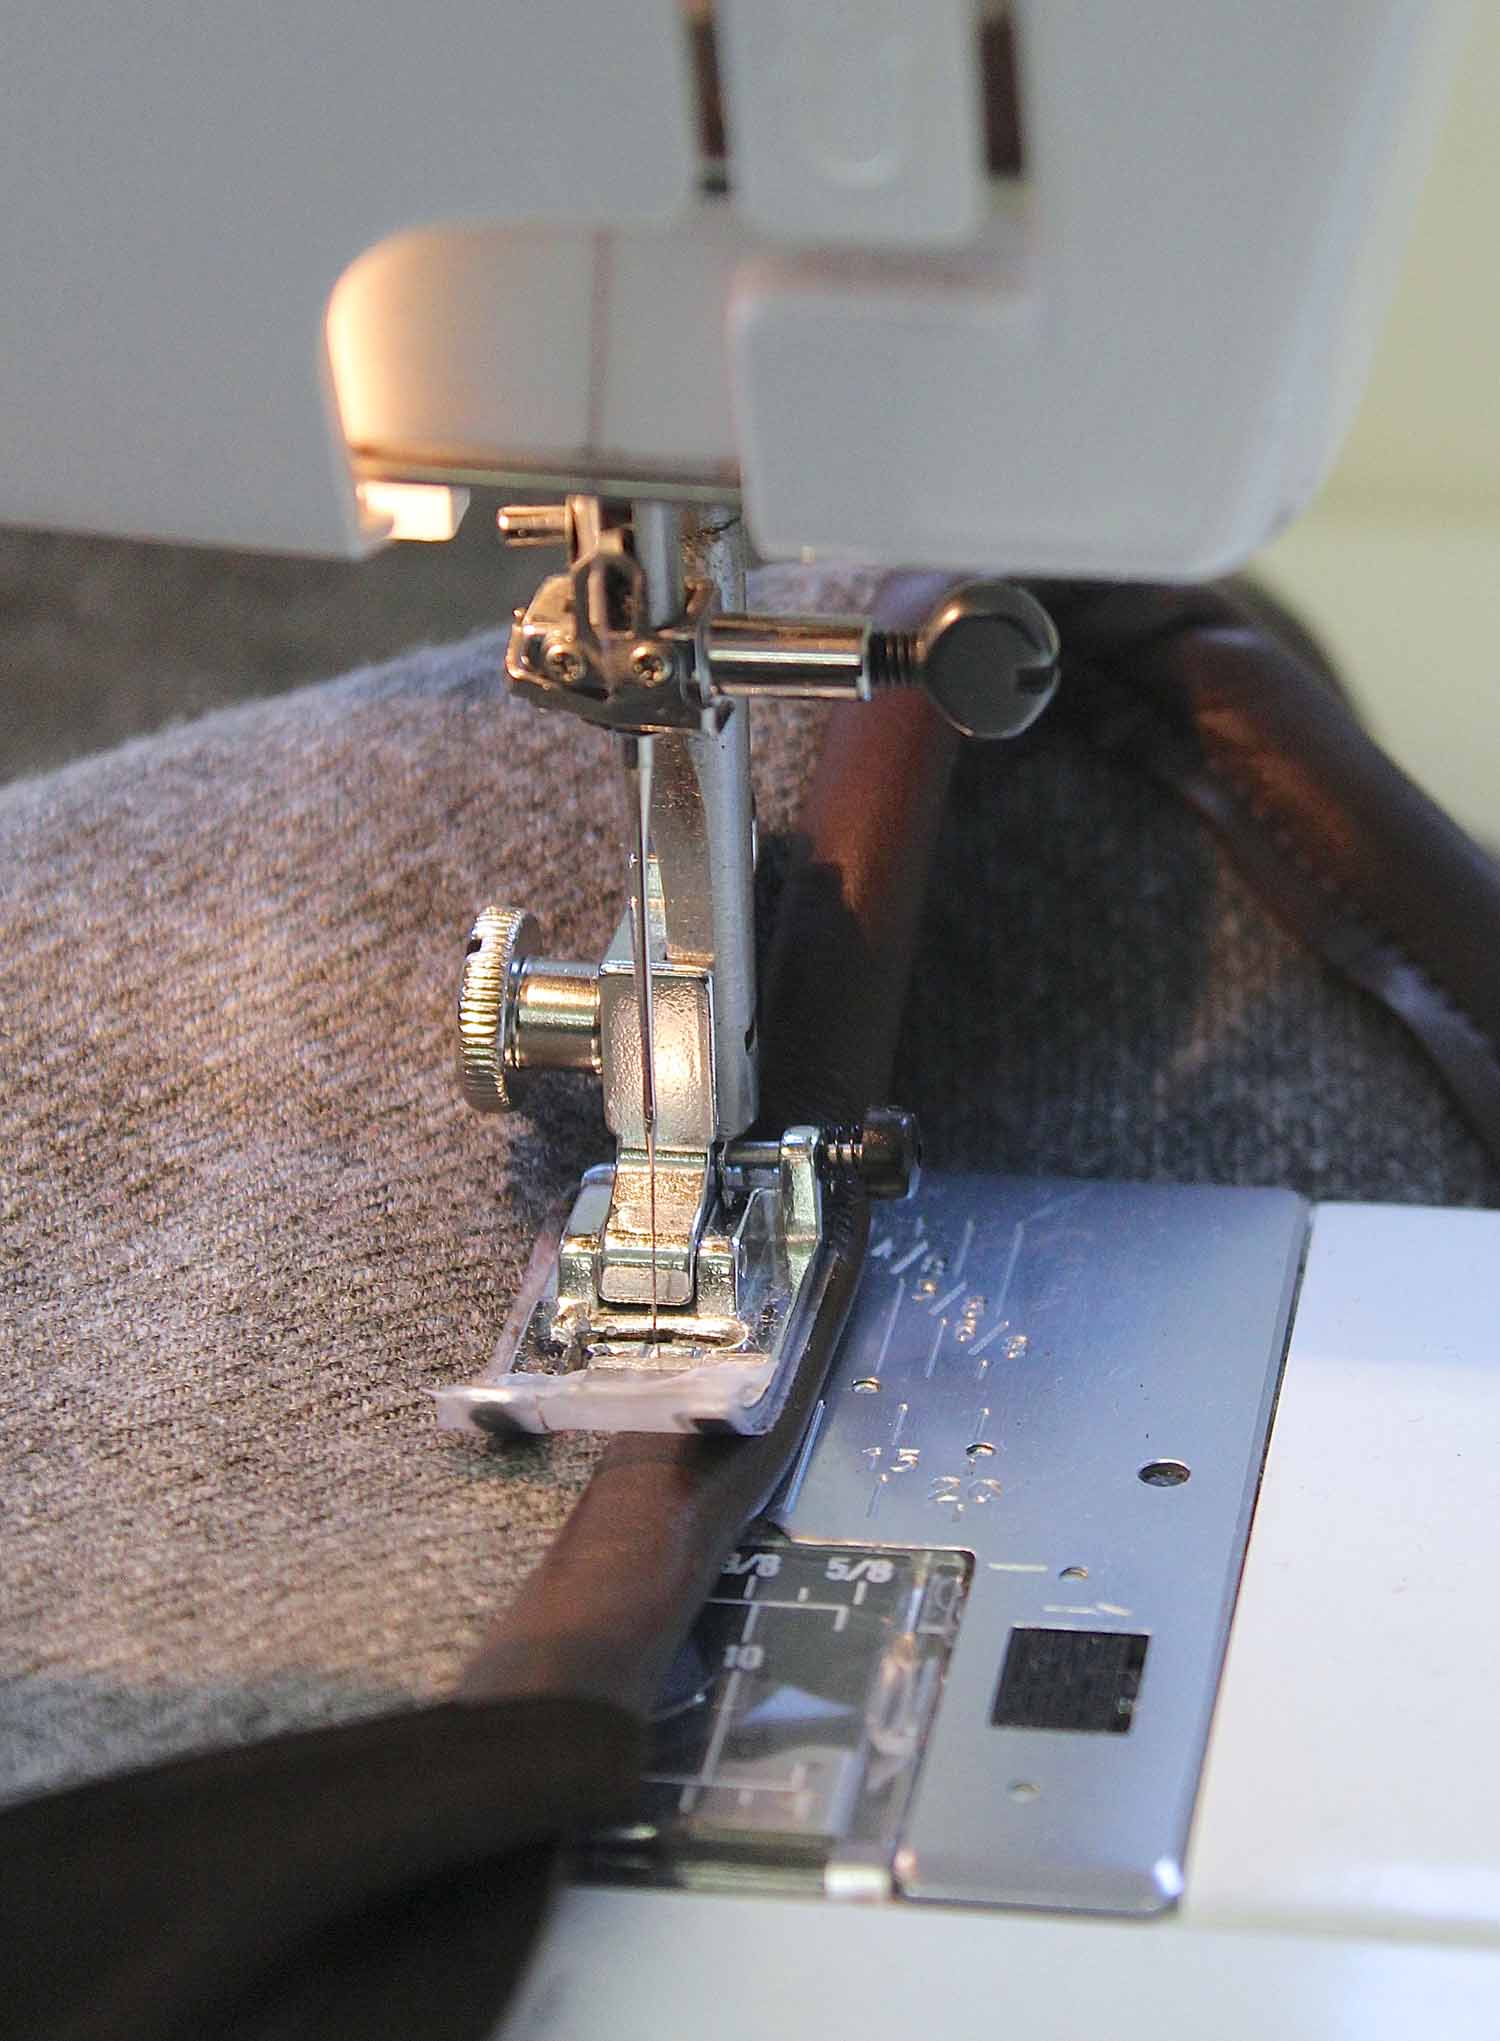
TIP: When you stitch the layers together, place the work with the leather facing down towards the machine plate- this is because the feed dog will get a grip on the surface of the leather whereas the machine foot will drag on it causing the leather to stretch and the fabric to pucker.

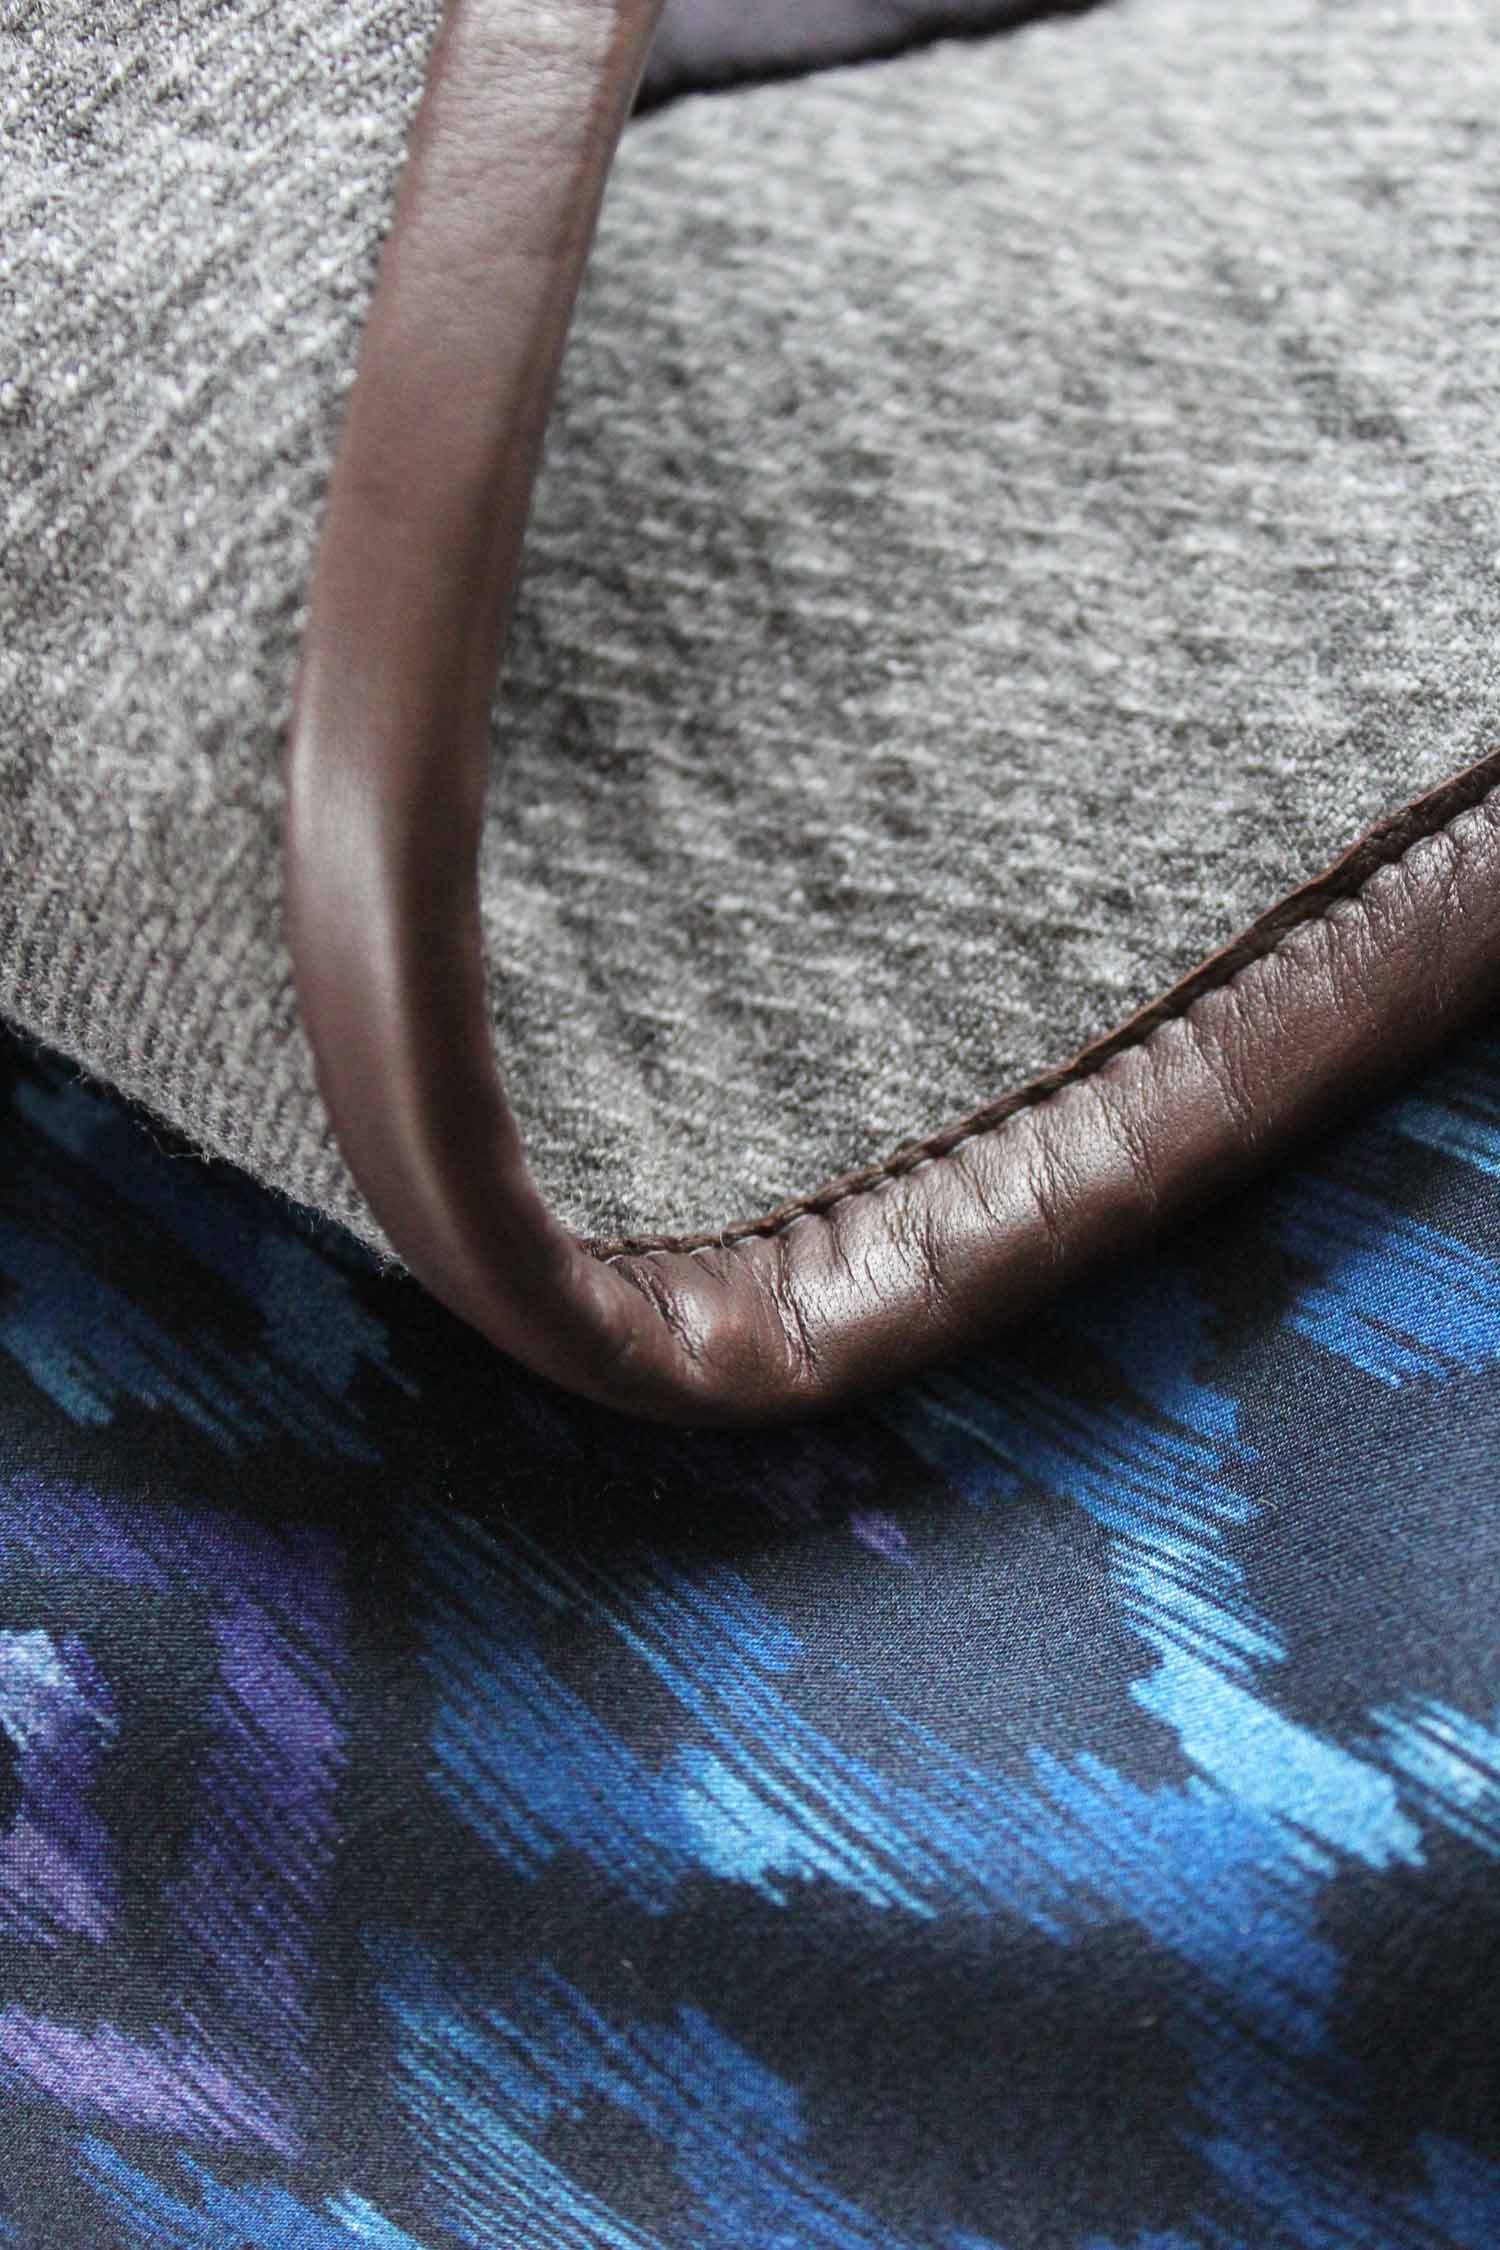
Wrap the stitched leather round the raw edge of the fabric, keeping the binding width even, stitch in the groove between the leather and fabric right up against the edge of the binding.
TIP: If you haven’t got a teflon foot or a walking foot for your machine, use invisible sticky tape (the frosted type that blends in) on the bottom of your machine foot to stop it dragging on the shiny surface of the leather…
When you’ve sewn the binding on, trim the excess leather away from the back of the binding close to the stitching, keeping the cut edge smooth and even…
When the hem edge is done, then move on to the front edges. Apply binding in the same manner, then to finish a corner, leave a short tail of binding overhanging the end (approx. 1/2inch/ 1.25cm)…

Tuck the tail end round to the back tightly, then fold the binding to the back, pin and stitch as before. You will get a neater finish this way rather than trying to mitre the corners.

Stitch in the ditch and trim as in previous steps.
TIP: When seaming two pieces that have been leather bound (such as the underarm seam of this coat) you can use a dab of invisible sticky tape to make the work flow more smoothly under the machine foot. once stitched remove the tape. But, you must test the tape on scrap fabric to ensure it dosen’t remove the glaze from the surface of the leather…

The addition of lining and leather binding had all kinds of implications to the original design of this coat (as I said, I always make things harder for myself) and as a result I’ve completely changed the order of construction and the finish.
As a final finishing touch I added those glorious buttons, sewing them straight to the coat at the side seams to bring the tabard shape together at the hips. And at the front, one button at the top with a leather bound button hole (a tutorial for another day).

Now I’m off to pack my handbag for our class trip to London tomorrow, see you soon!
Bx