Pattern Review – Vogue 8577
To be honest, I’m not sure where this pattern came from, I found it in my stash, complete with sticky tape holding the pattern extension pieces together. I must have lent the pattern to a student, or made it up for a client?
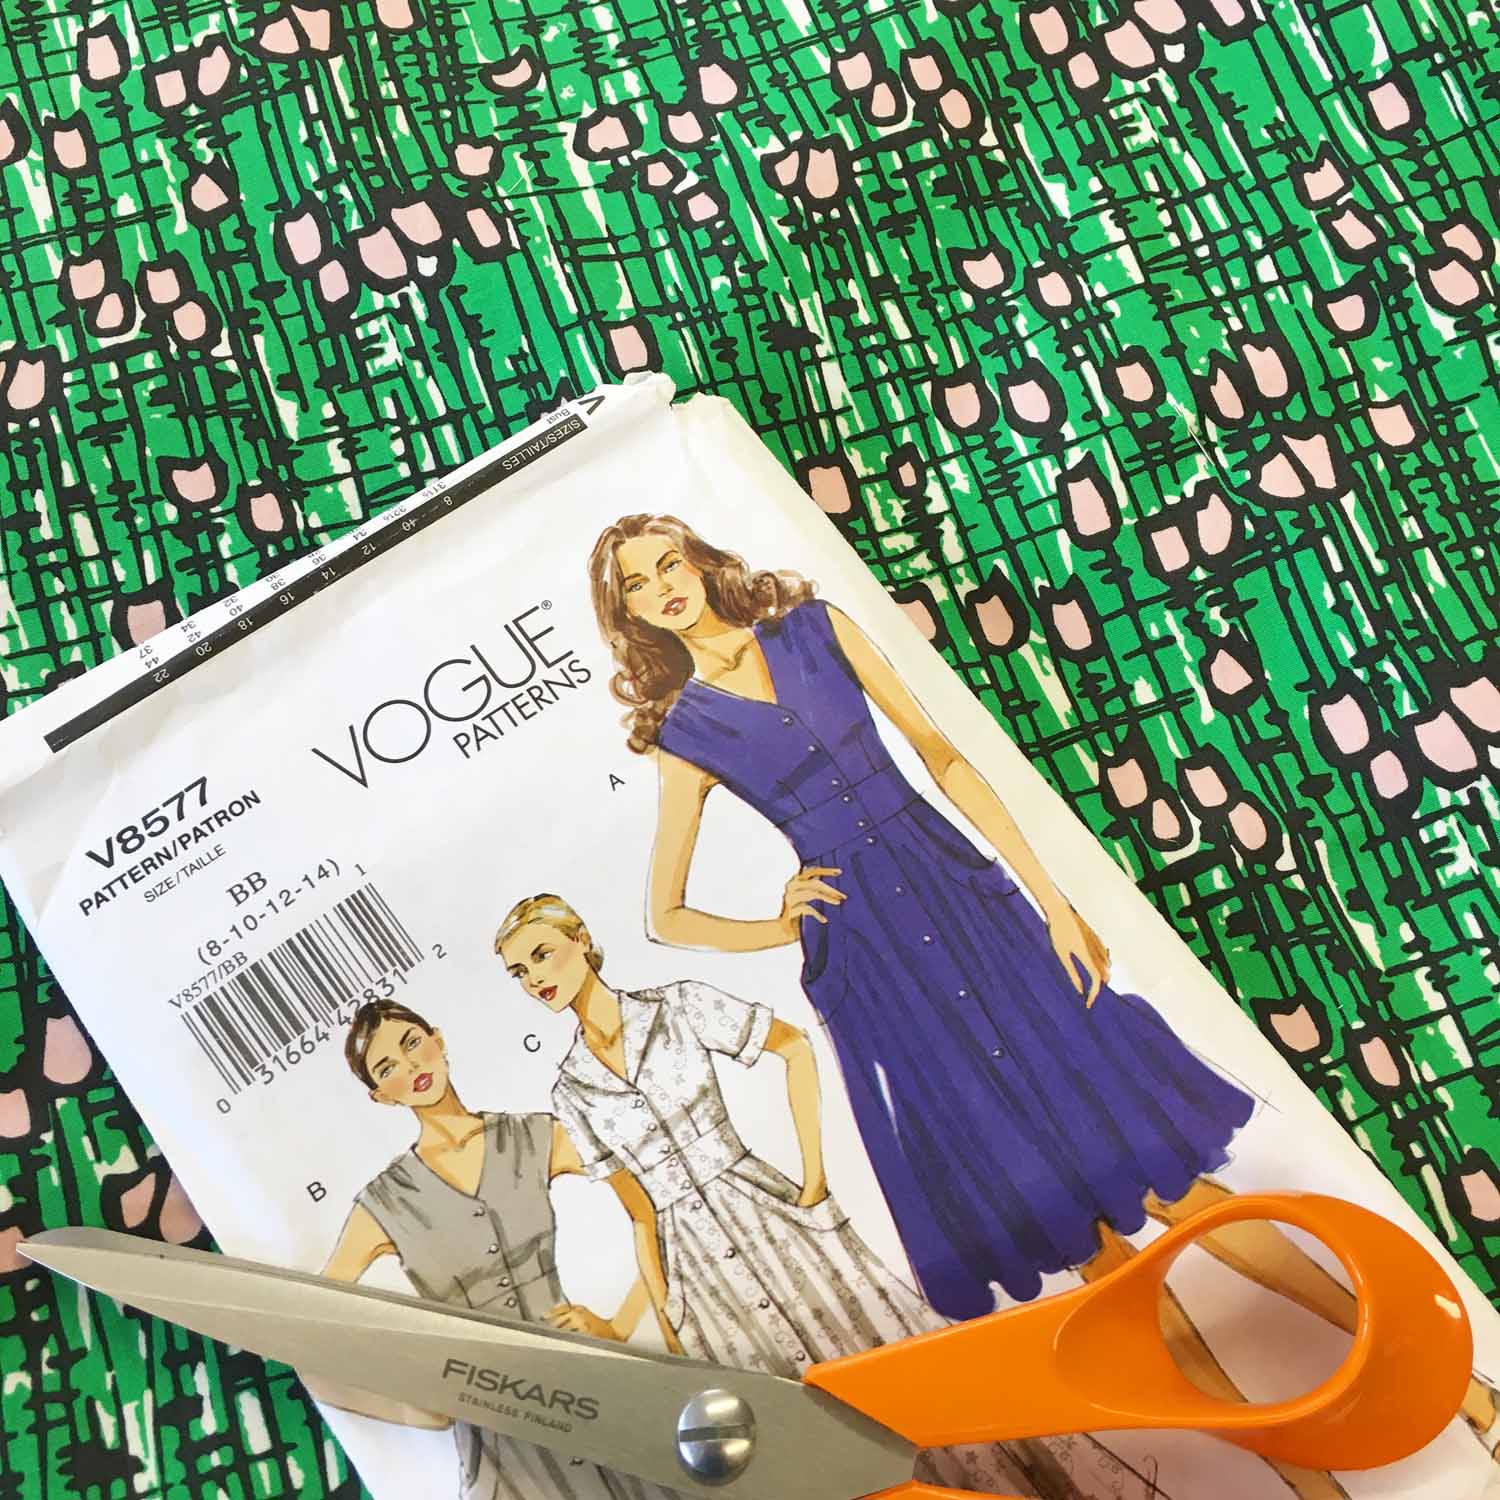
I’m not normally drawn to full-skirted dresses for myself, but the oversized pockets really grabbed me, so it quickly jumped to the top of my must-make pile (I’m terribly fickle, I know).
One of the beauties of making your own clothes is that over time you get to know what shapes suit you, and also how to alter a pattern to flatter your body’s little quirks.
For example, I know that I don’t suit a bodice that comes to the edge of my shoulders (Quarterback alert!) unless they extend into a cap sleeve, or drape beyond my shoulders. I also wanted to cut the skirt just above my knee (but only just) so that the dress doesn’t look frumpy with flats. In my alternative life I’d live in spindly heels, or beautiful chunky platforms, and totally impractical court shoes; but in my real life I live in a small village in Sussex, and walk across grass gravel and uneven pavements (not to mention being on my feet for up to 14 hours a day) so flats it is!
With my personal requirements in mind, I shortened the pattern by 1 inch and brought the shoulder seams in by 1 1/4 inches at the outer edge, tapering the new line through the yoke, and into the armhole.
From experience I always cut Vogue patterns up in a size 12, although I’m a pretty average size 10 in the shops. But I find this fairly standard in Vogue patterns.
This is it, the finished dress.

The pocket detail is absolutely gorgeous, although now I’ve made it up I think I’d have preferred to highlight the cut, and perhaps use a contrast fabric for either the insides of the pocket or the band that curves around the edge. Or maybe just cutting one of the panels across the grain to show off the details… Maybe next time.
As it was, I topstitched around the edge of the skirt next to the pocket band to give a little more definition to the details (and also because from experience the more topstitching the less ironing is required after washing!).

Seeing as how I brought this fabric at least two years ago, and with no particular project in mind, there wasn’t enough to cut the dress out as per the instructions. But I like a challenge.
Using black cotton poplin for the front facing, waistband lining, and inside the pockets, I had enough of the Wayne Hemmingway print to cut the rest of the dress. It means that this dress is just as pretty inside out.

I also used a black bias binding to face the hem, I love the extra body it gives to a skirt and you get a little glimpse of black when I move about.

After a day of blissful sewing in the studio I took my new frock home to sew buttons on in front of the telly.

So altogether a very happy sewing experience, I love the pattern and intend to make it again. Perhaps in a silk crepe or maybe a lightweight denim. I’d definitely think about using a bit of contrast to highlight all those pretty details in the waistband, pocket bands and if you choose option C, the collar and cuffs (ooh err!). A bit of piping perhaps?
We’ll there it is, and here’s another picture of the finished dress, there’s something about a swishy skirt, you can’t stand still in it!

Until next time, happy sewing. X

You look lovely in your green dress.
Thank you Diana, it feels lovely to wear too!