


If you use a lot of commercial sewing patterns then like me you probably get frustrated that every time you move around your work, the pattern paper takes off and floats away from where you are tying to pin it down. Well, no more!
I have been meaning to make some of these useful little weights for ages, they are really handy when you are working out the initials layout of a pattern but aren’t ready to pin yet.

They are super easy to make and with the addition of dried lavender, are deliciously scented too.
Here’s a step by step tutorial of how to make pattern weight, this is a great little project for kids and a great way to use those pretty little scraps that you can’t bear to throw away.
I started by making a nice cup of tea, a had a sneaky cookie (which by the way is the best supermarket cookie I have ever had, thank you Mr Co-op).

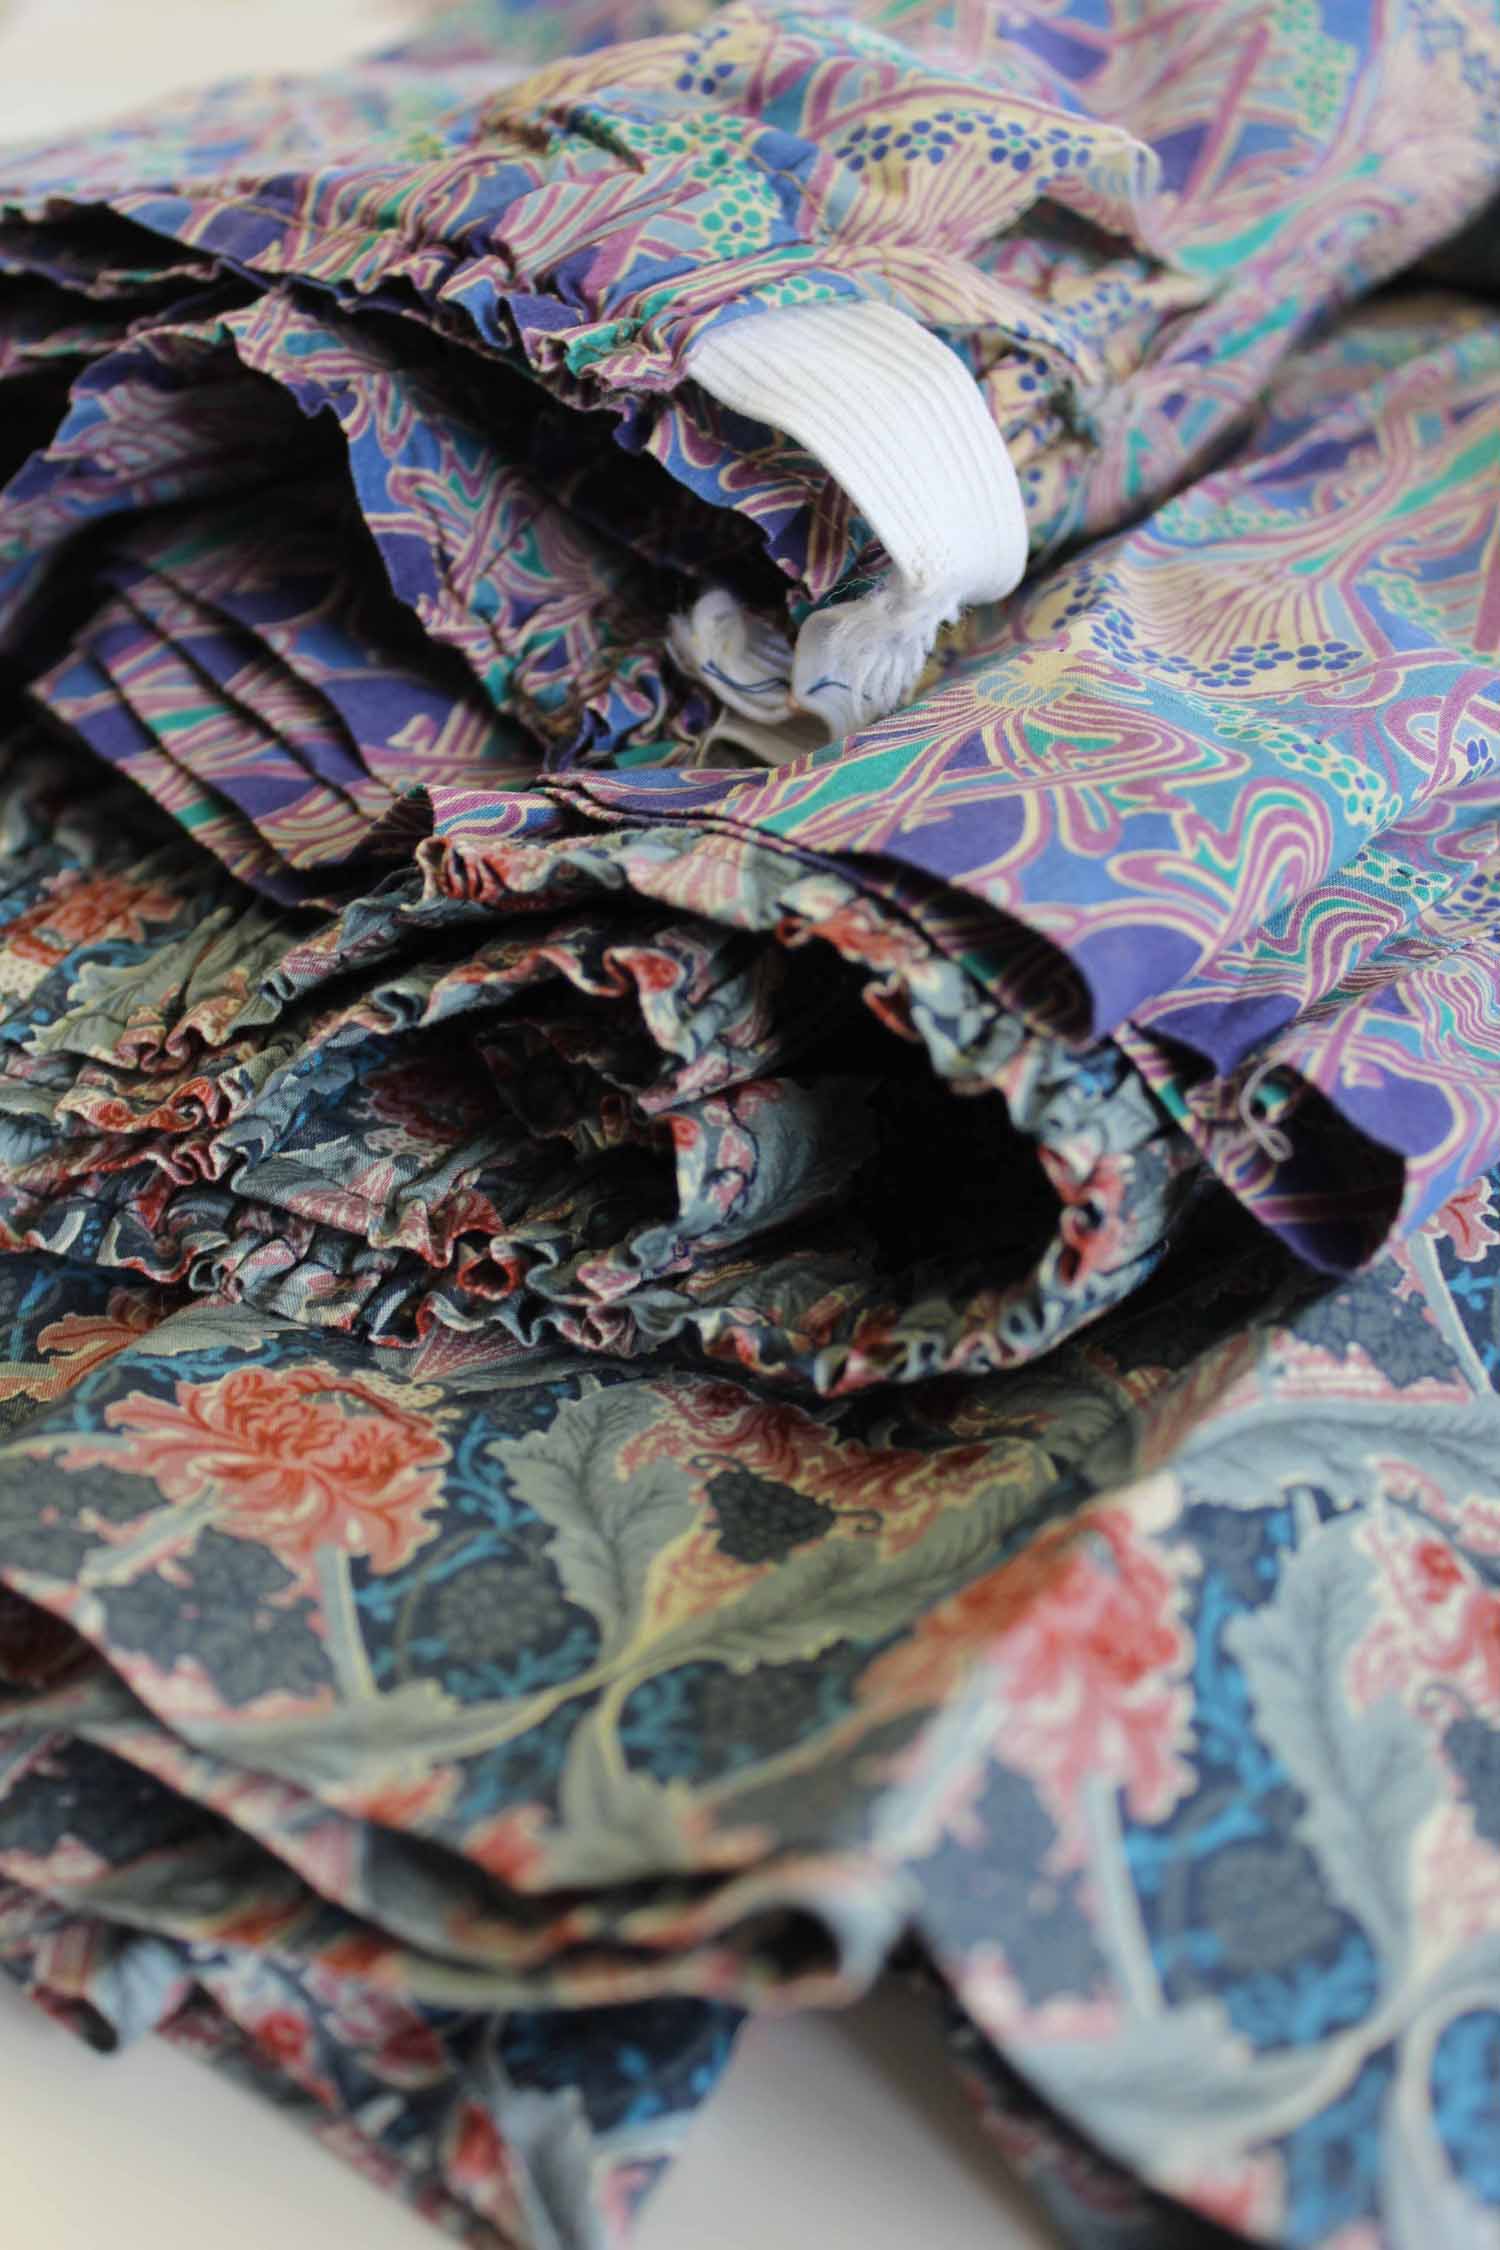
About fifteen years ago I bought several tired old skirts in a jumble sale (yes a jumble sale, do they even exist anymore?). Although I’d like to hold on to the fabric to make children’s clothes… one day… I thought I could spare a bit of fabric to make some little fabric weights. To get the most out of them, I unpicked the waistbands and pressed out the cloth.
The template for the twisty shape is essentially a rectangle but to get the equal triangular shape follow these steps.
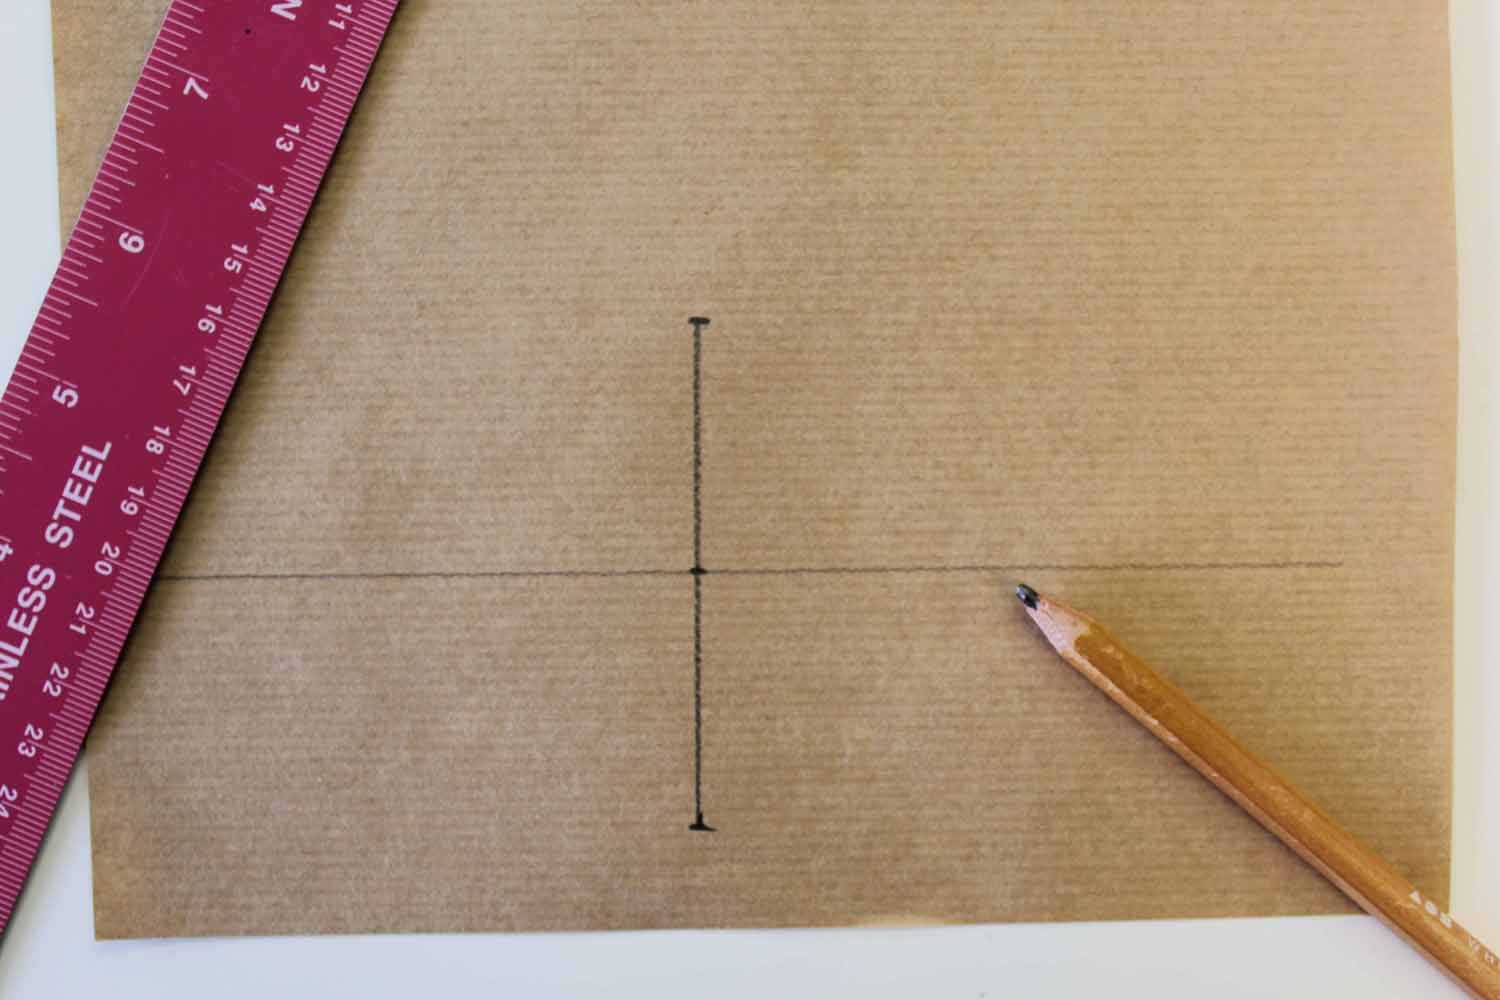
Decide what size you’d like to make, mine are 3 inches in length so I’ll show you that but you could make them any size you like. Draw a line 3 inches long, marking the mid point…

Draw another line through the mid point, that runs at a right angle to the first…
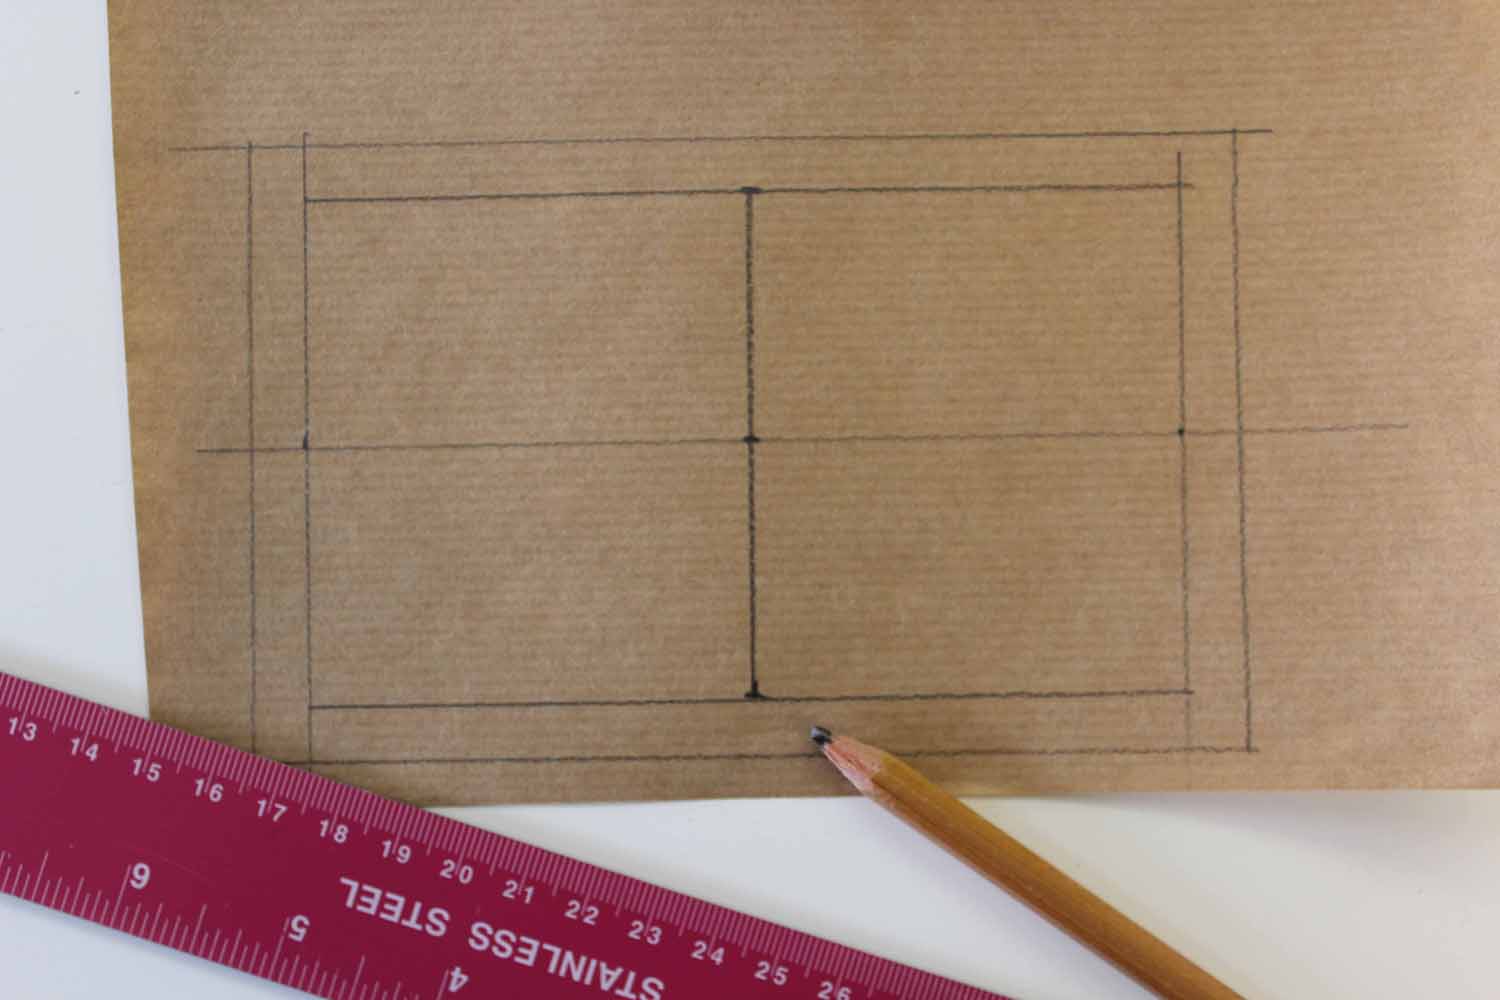
From the bottom point of the first line measure diagonally across to the second line, and mark where the diagonal measures 3 inches…

As you can see the new mark is less than 3 inches from the centre point along the second line, this is correct.

Repeat in other direction then make a rectangle using the marks you made. Then add a small seam allowance all the way around…
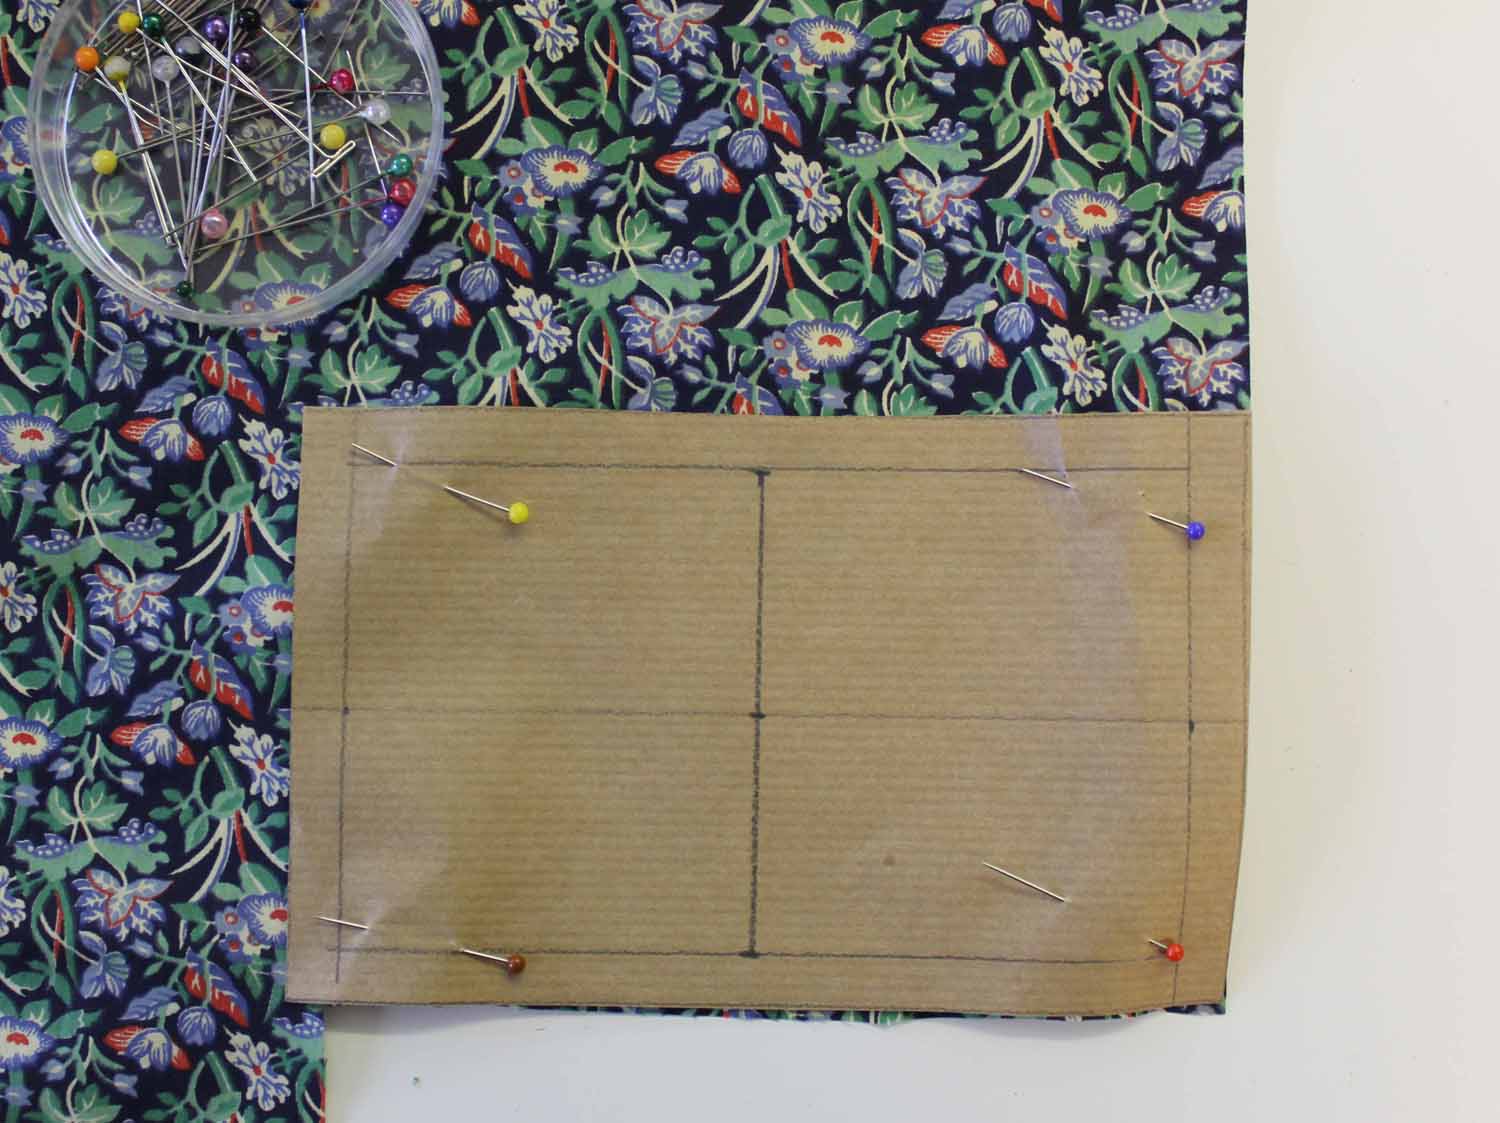
Cut out the rectangle…

And pin onto your fabric…
Carry on cutting out until you’ve run out of fabric/drunk all your tea/got blisters from you scissors or just reached your desired number….

Right sides facing, fold the rectangle in half and pin the two open sides opposite one another, leaving one side open…

Sew them into little pockets…

Turn them out the right way pushing the corners into sharp points, then fold the raw edge in on itself (the amount you added for seam allowance on your template earlier)…


Open up the bag of lavender…

And once you’ve woken up and picked yourself off the floor, mix up a bowl of rice and lavender. I used 3-4 handfuls of rice to one handful of lavender. Fill the little pockets, over the bowl to avoid making a colossal mess…

When the pockets are full but not overflowing, match the seams (thus creating the twist) and pin close to the pinched edge…

Sew along the pinned edge by hand, or on the sewing machine if you can manage without spilling rice everywhere…

And there we go, super easy little pattern weights.

They also make good juggling balls/missiles as we discovered in the studio today!

Happy sewing! X
Oh my goodness so simple but look really good!
Thanks Carolyn, are you thinking of making some yourself? xx