
I recently purchased a walking foot for my sewing machine.
Without being over dramatic IT HAS CHANGED MY LIFE!
There are certain materials that can render even an experienced dressmaker to a gibbering wreck, reaching for the nearest bucket of gin (I love the idea that you might just happen to have one lying around for emergencies). For me this material has always been leather, but armed with my new foot last week I merrily set about the task of making myself a leather jacket.
It has been so much fun and so successful that I thought I’d make a little clutch bag from the left over leather, and share with you so you can have a go for yourself.

First of all, decide on the size of you bag.
The bag is designed to be turned down twice much as you might fold a paper bag containing sandwiches or a chunk of cake.
Draw a rectangle, I went with dimensions of 26cmx22cm…

You then need to add some volume to give the bad capacity rather than it being flat, I added 3cm to the sides and the bottom edge (this will give me a depth of 6cm)…

Add seam allowance, 1cm should be sufficient, but 1.5cm if you prefer a lager margin or if you are using a loose weave fabric rather than leather.
Your pattern should be looking a bit like this…

As the bag is to be folded over twice the top section of the bag needs to be smaller to allow for the thickness of the leather.
My top section is 5cm and the second is 7cm, leaving 14cm for the main body of the bag. This means my finished bag will measure 22cm wide by 14cm high and 6cm deep.

Cut out your paper pattern.
Cut 4 from a good quality fusible interfacing. Lay out on the back of the leather and press firmly until fused.

The interfacing makes it easier to cut the leather accurately, cut out and then press again to eliminate any bubbles in the interfacing like I have here…
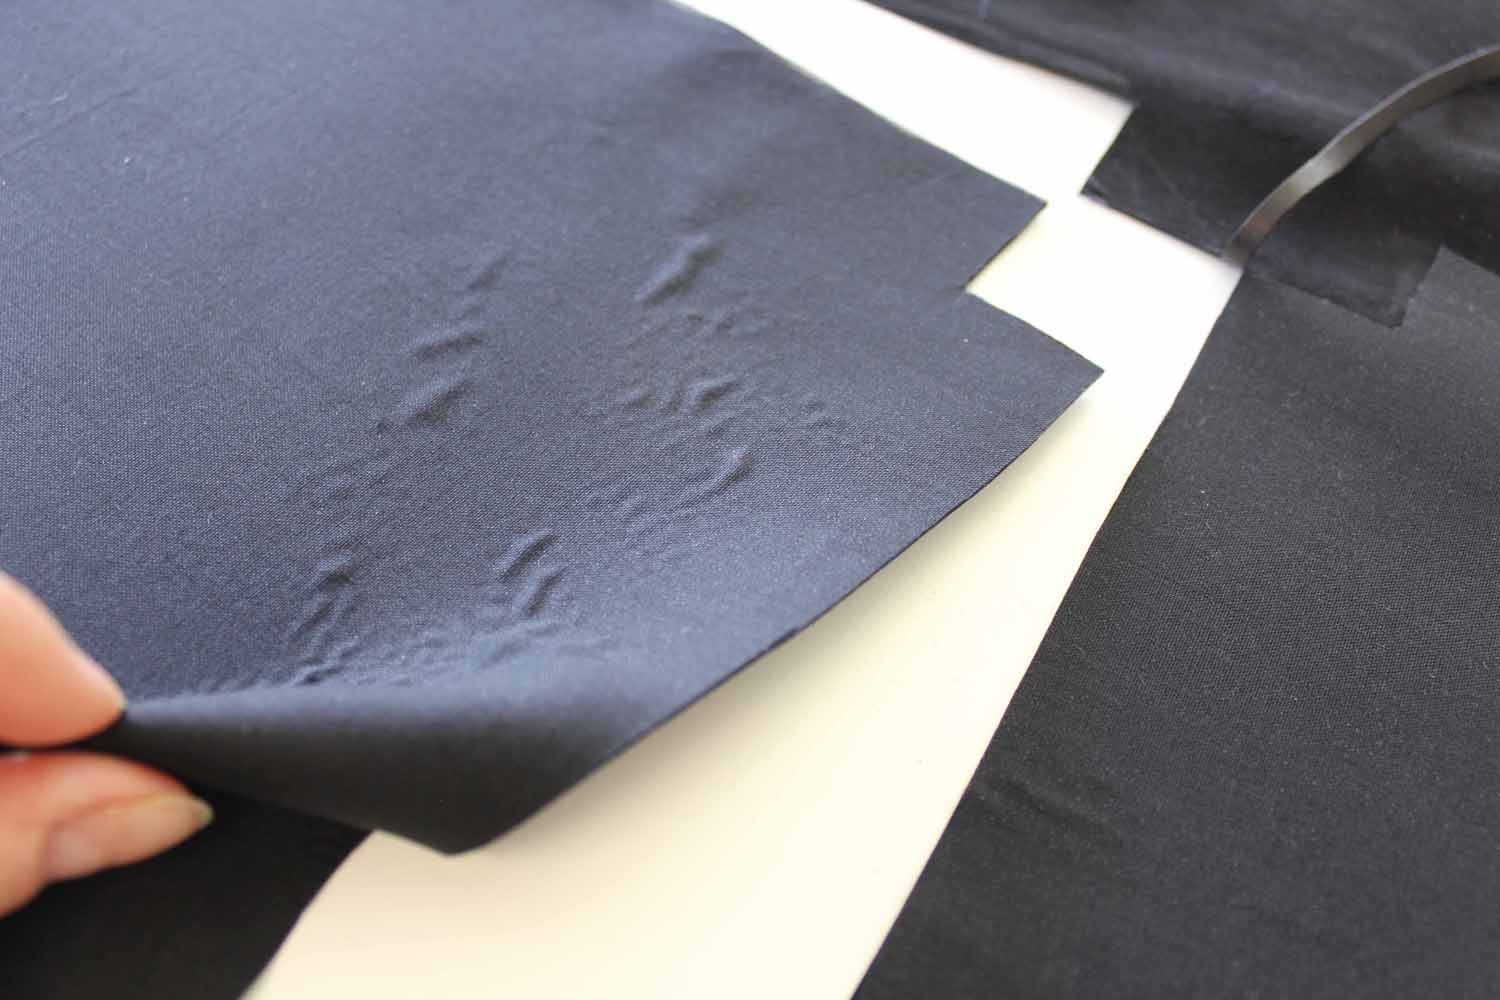
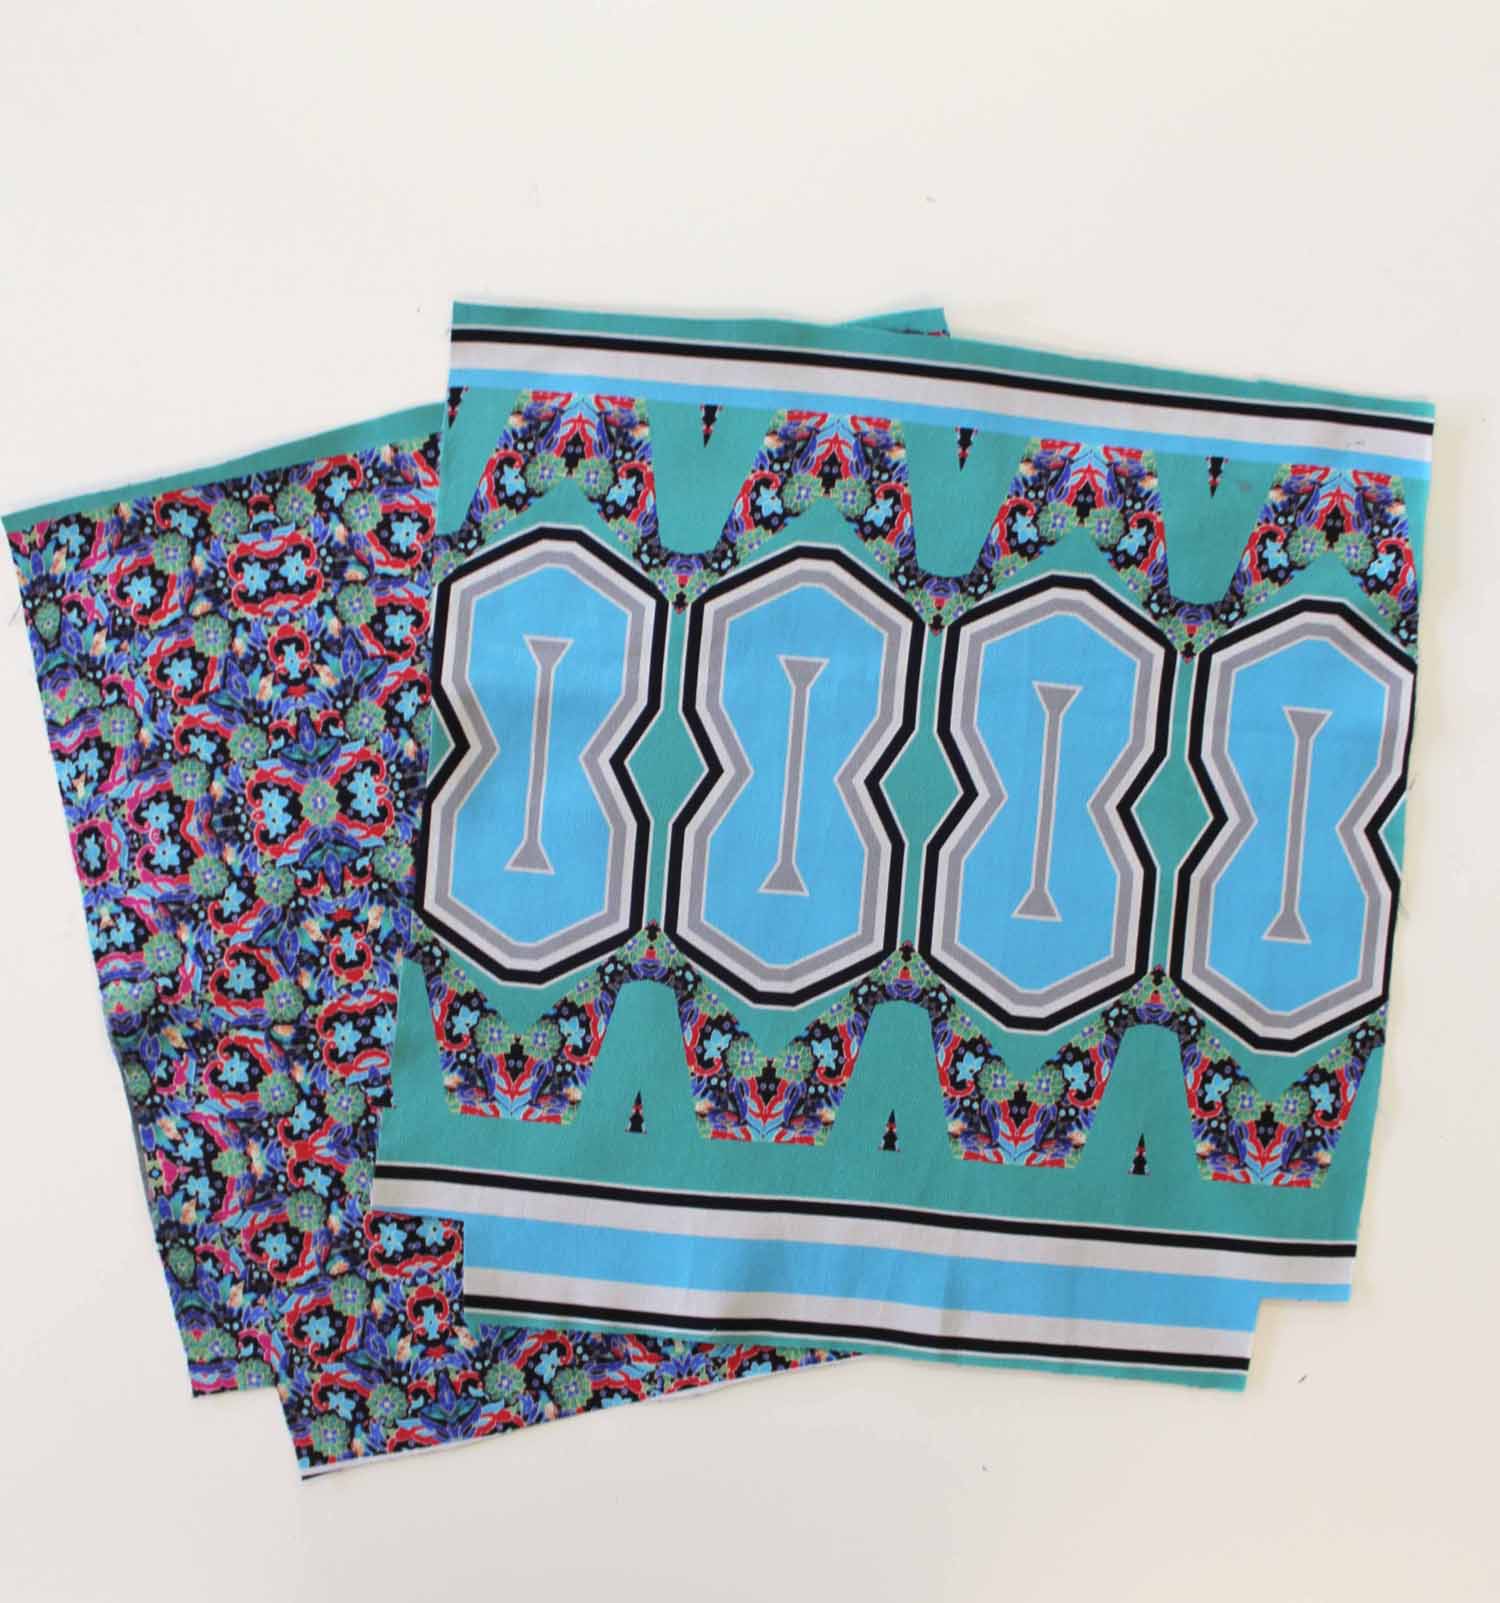
Repeat this process with lining.
TIP* Why not use a funky bit of fabric you wouldn’t be brave enough to wear, or perhaps recycle a damaged silk scarf like I have here…
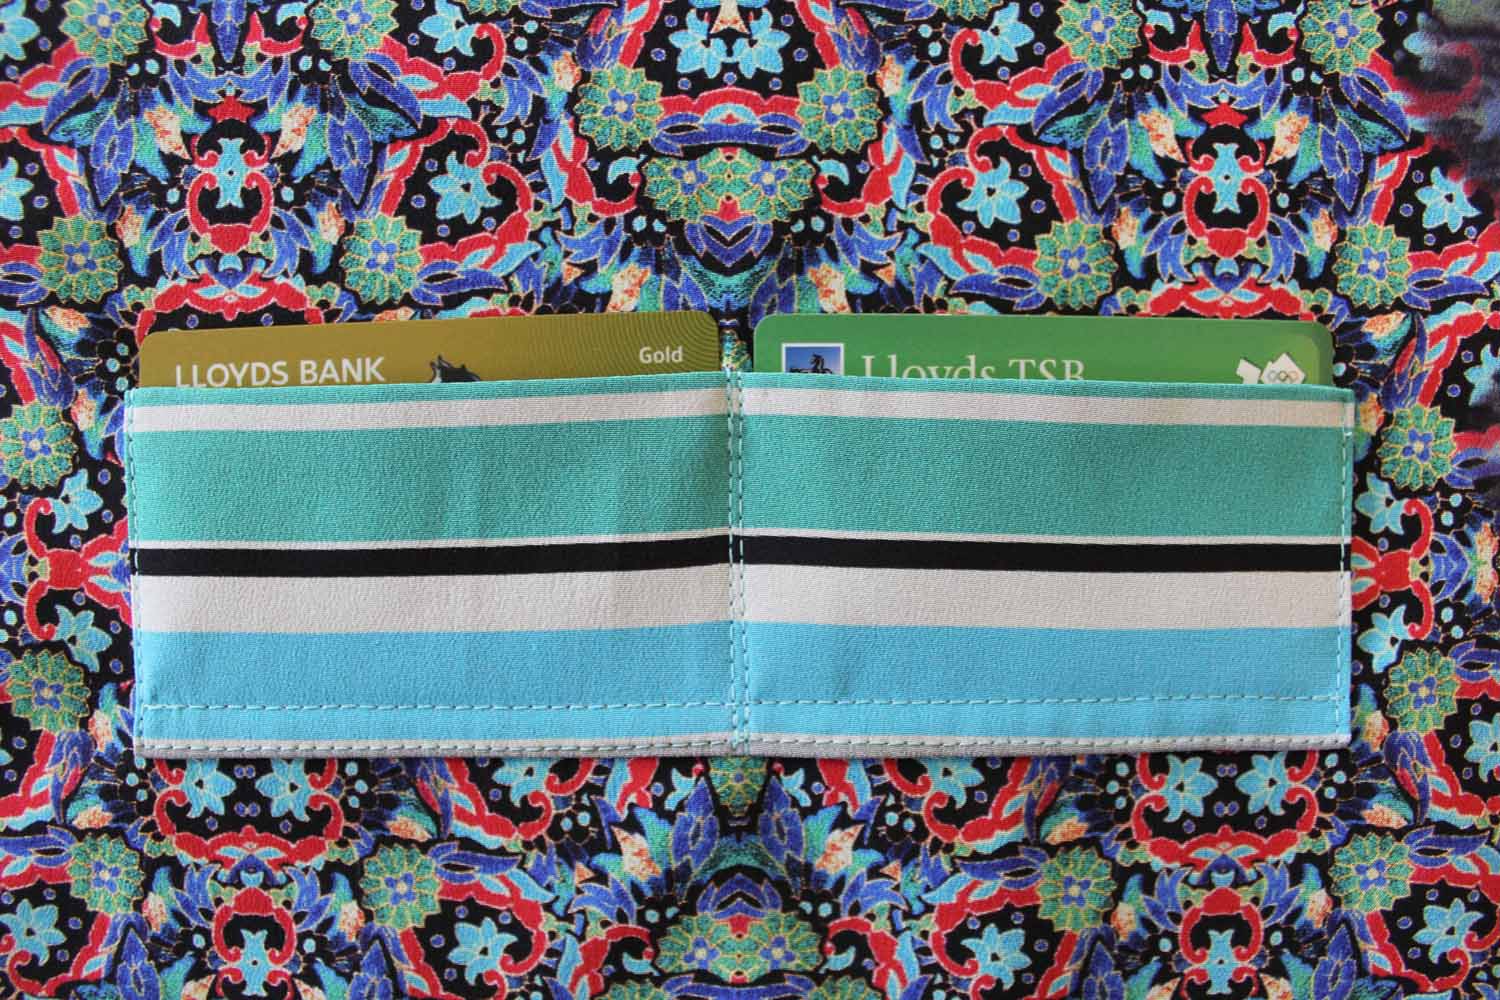
Why not add card holders or a zip pocket into the bottom section of the lining?
TIP* Remember to think about where the pocket will end up when the bag is finished.
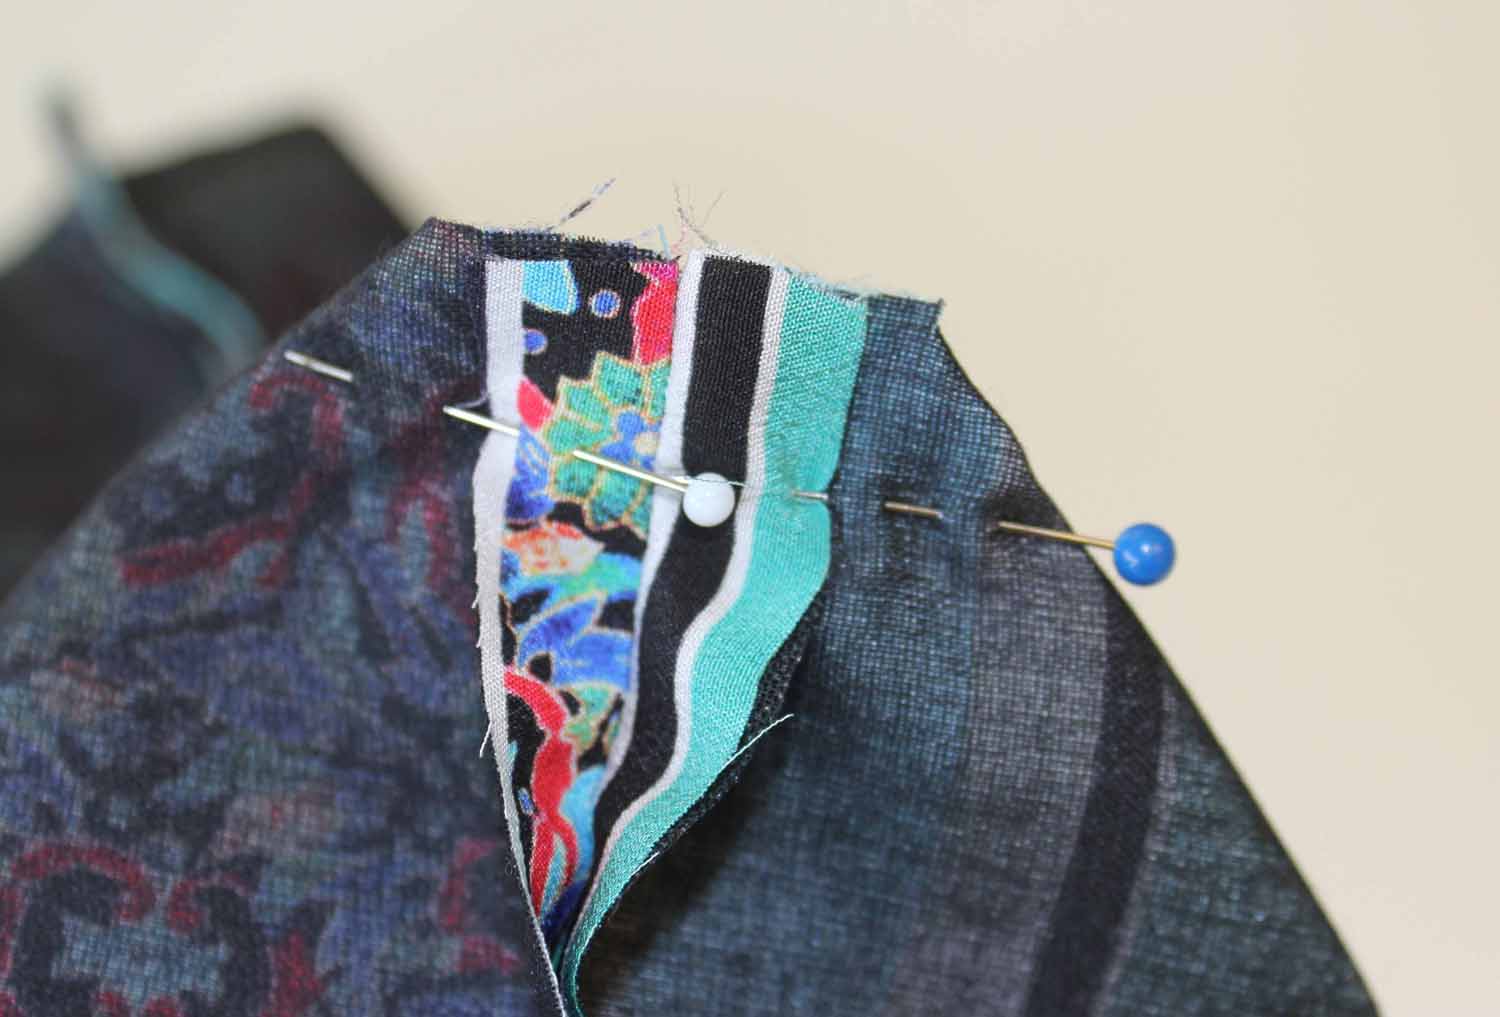
With the fabric right sides facing join the lining pieces together along the bottom and side edges leaving a gap in the side seam for turning the bag later…

Open out the bottom corners, matching seams and spreading allowances open.

Pin across the corner and stitch…
Press allowances open and put lining to one side.

I am using magnetic snap fasteners for my clutch bag, they are easily purchased online, try Jaycotts or Macculloch and Wallis for similar.
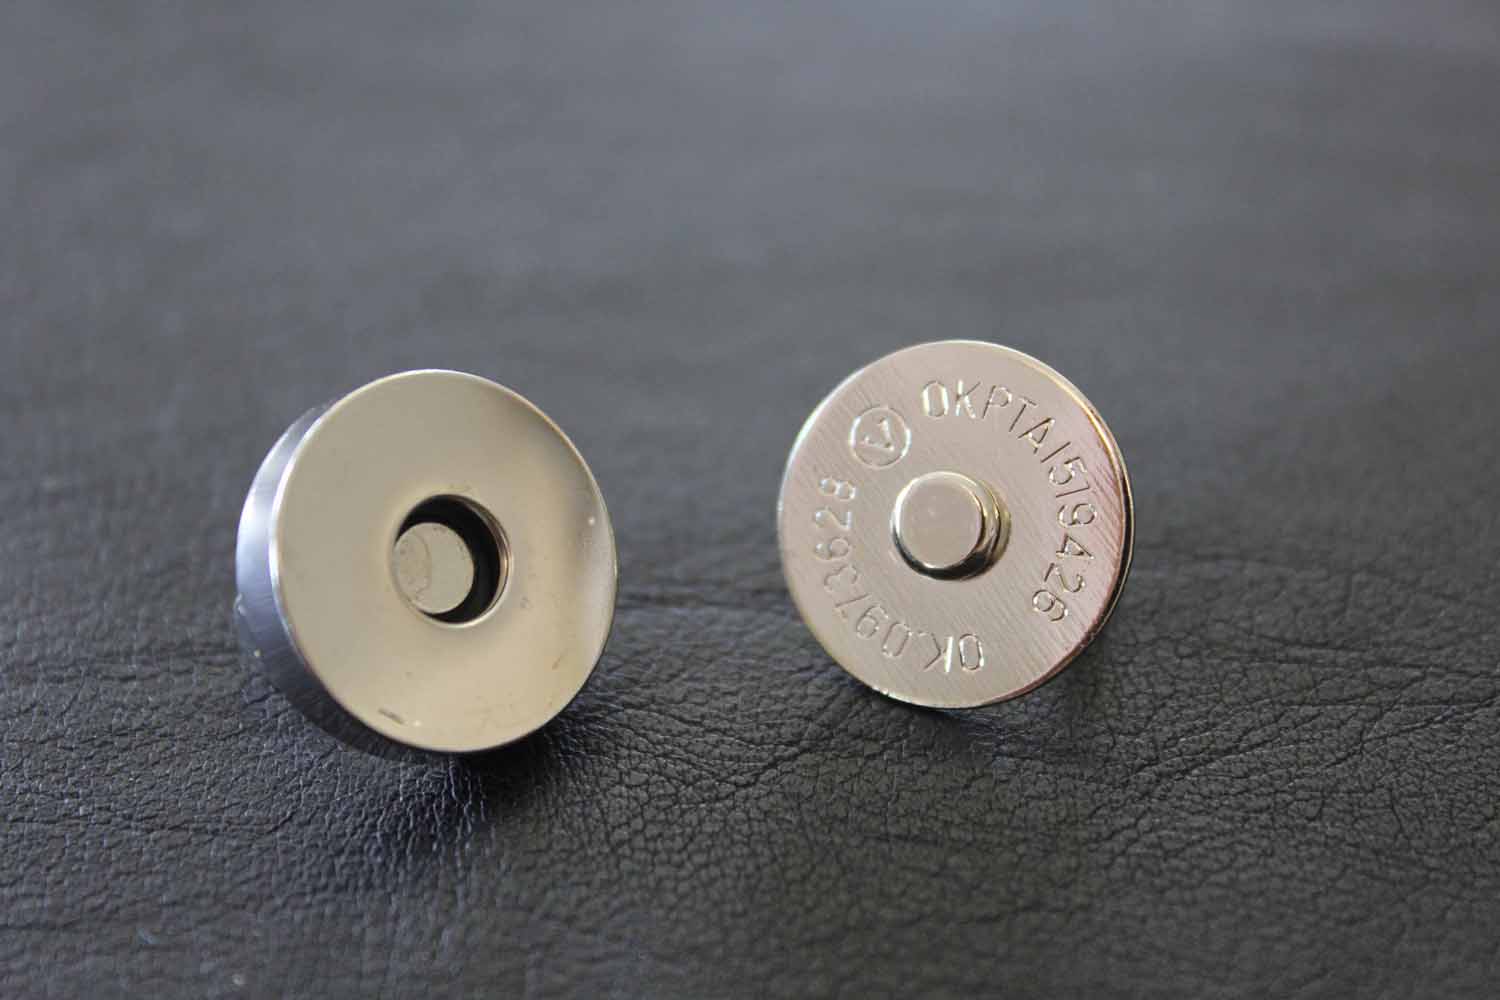
Make an indentation using the prongs into the leather where the fastenings are to be placed…
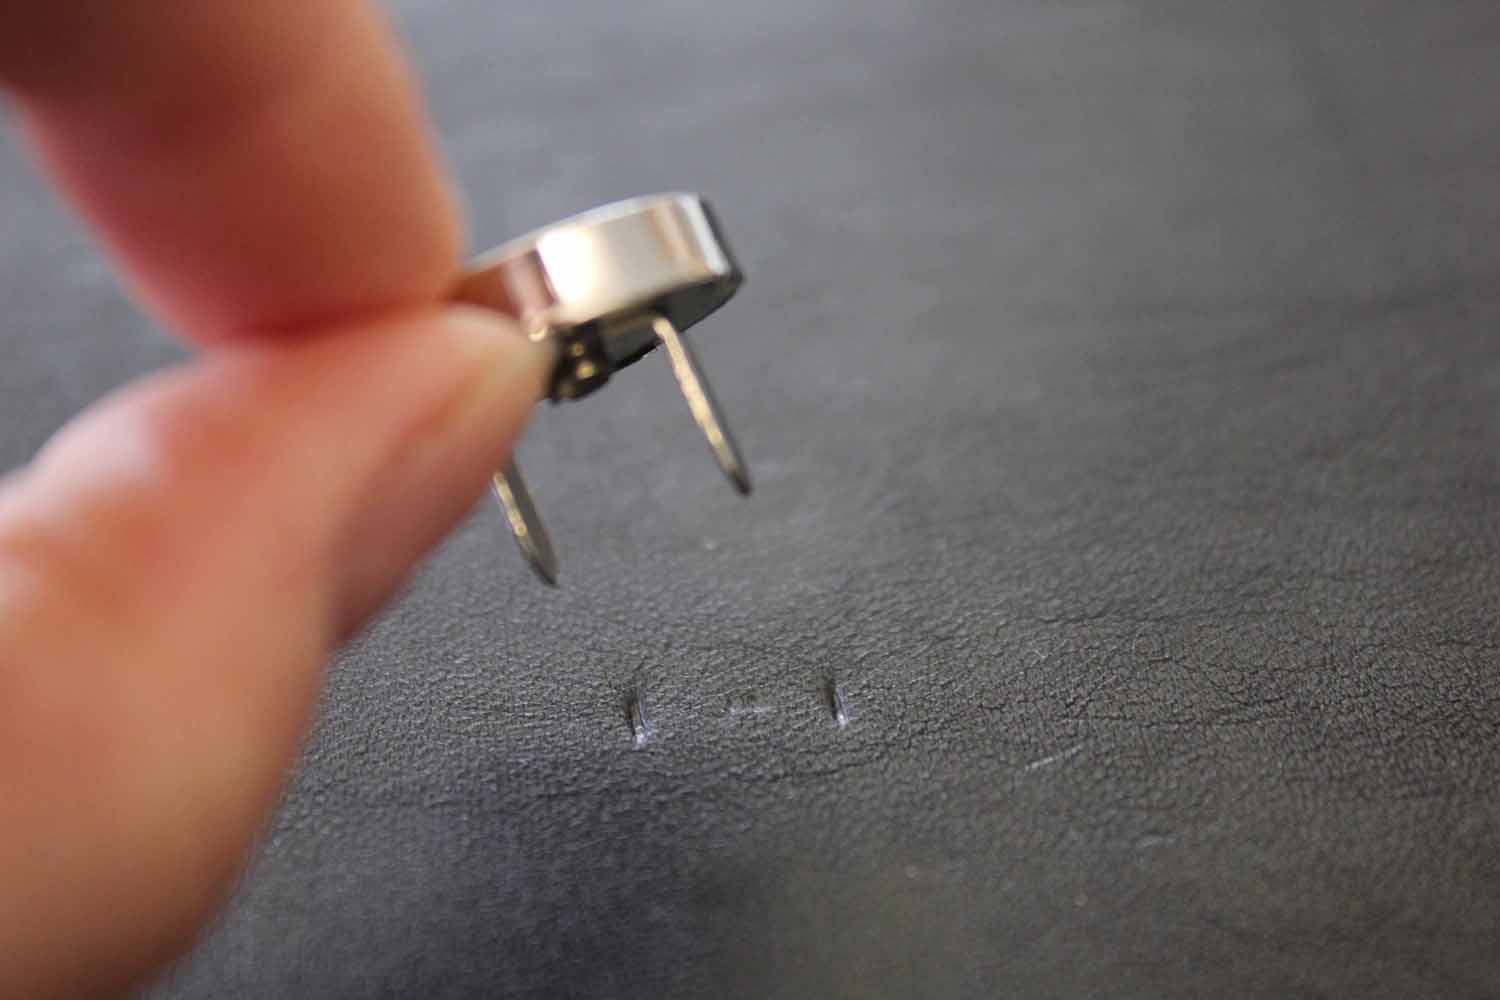
Snip the leather where marked and poke the prongs through…
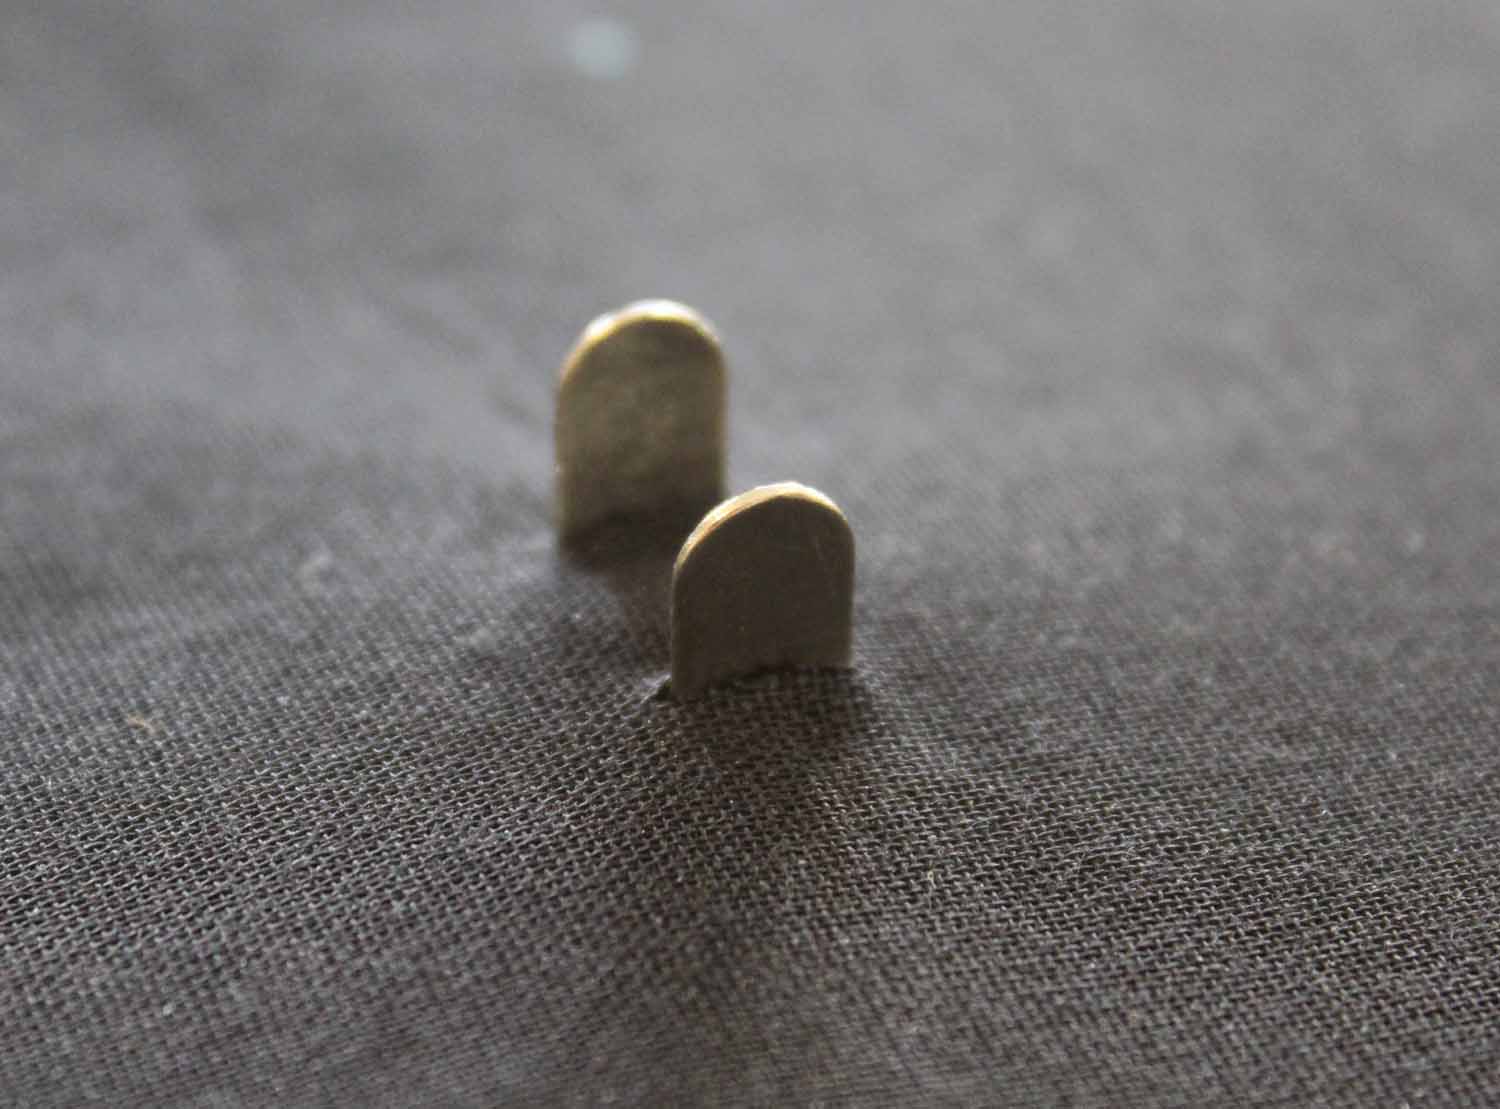
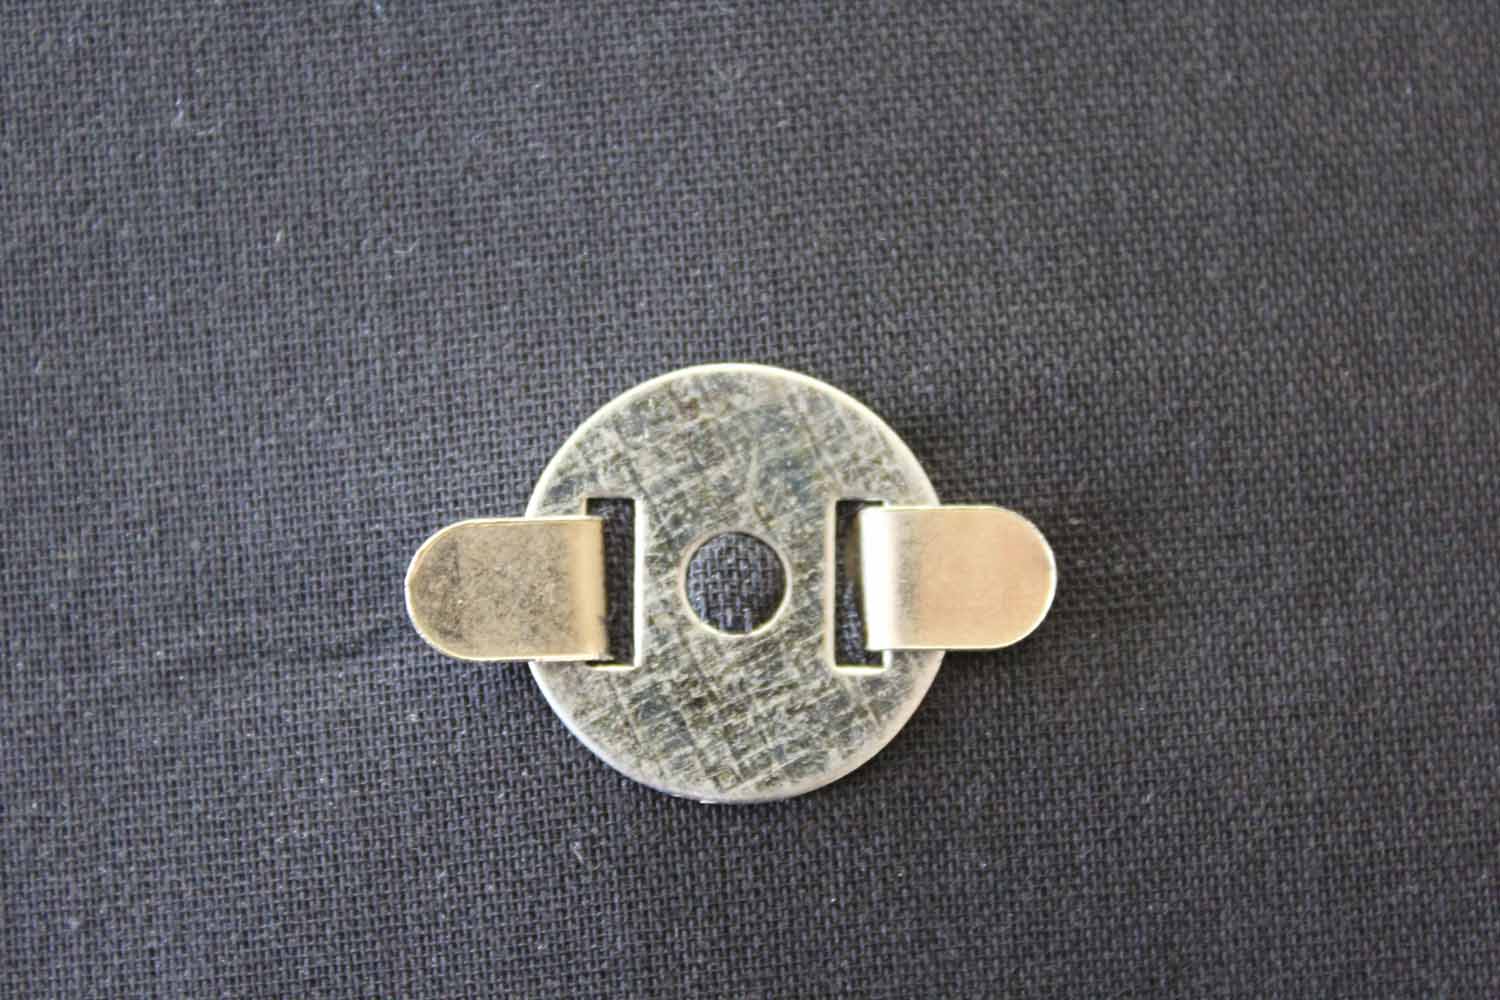
Place the brace on the back and then splay the prongs open to attach the fastenings.
On my bag the placement looks like this but it might vary for you depending on how deep each fold is to be at the top of the clutch.
Remember as far as fastenings are concerned its missionary position every time (boys on top, sorry girls).

Here is how the fastening would appear on the pattern…

I low your dying to get this bag made but there is one more bit of prep.
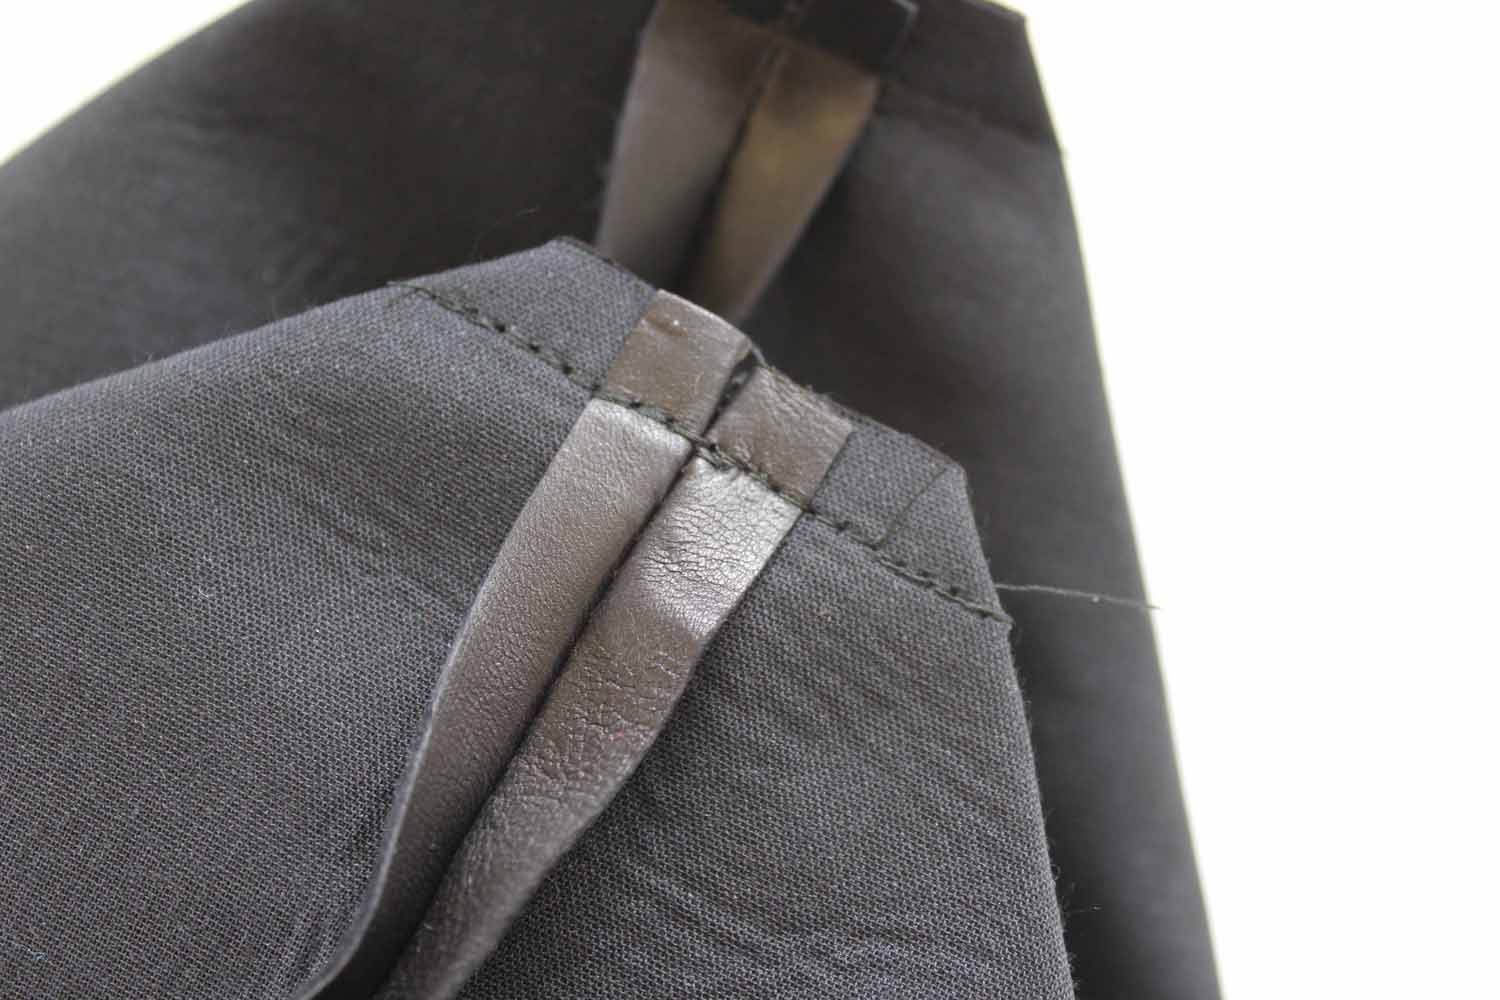
If you want a wrist strap now is the time to add it to the clutch. At the top of the lower section of the bag, in the side seam, add a small loop of leather to which we will later add a chain. Approx here on the pattern…

Because leather is really hard to pin, use small bull dog clips to hold the loop in place whilst you sew.

It’s time to break out the walking foot. Yay!!

With right sides together join the leather panels at side seams and across bottom. Stitch the loop in as you go.

As with the lining, pinch the bottom corners open …

and stitch across, matching side seams…
Rather than pressing the seams open as you would with fabric, use a craft glue (Copydex works best) to stick the seam allowances back to the main body of the bag…

Turn right way out…

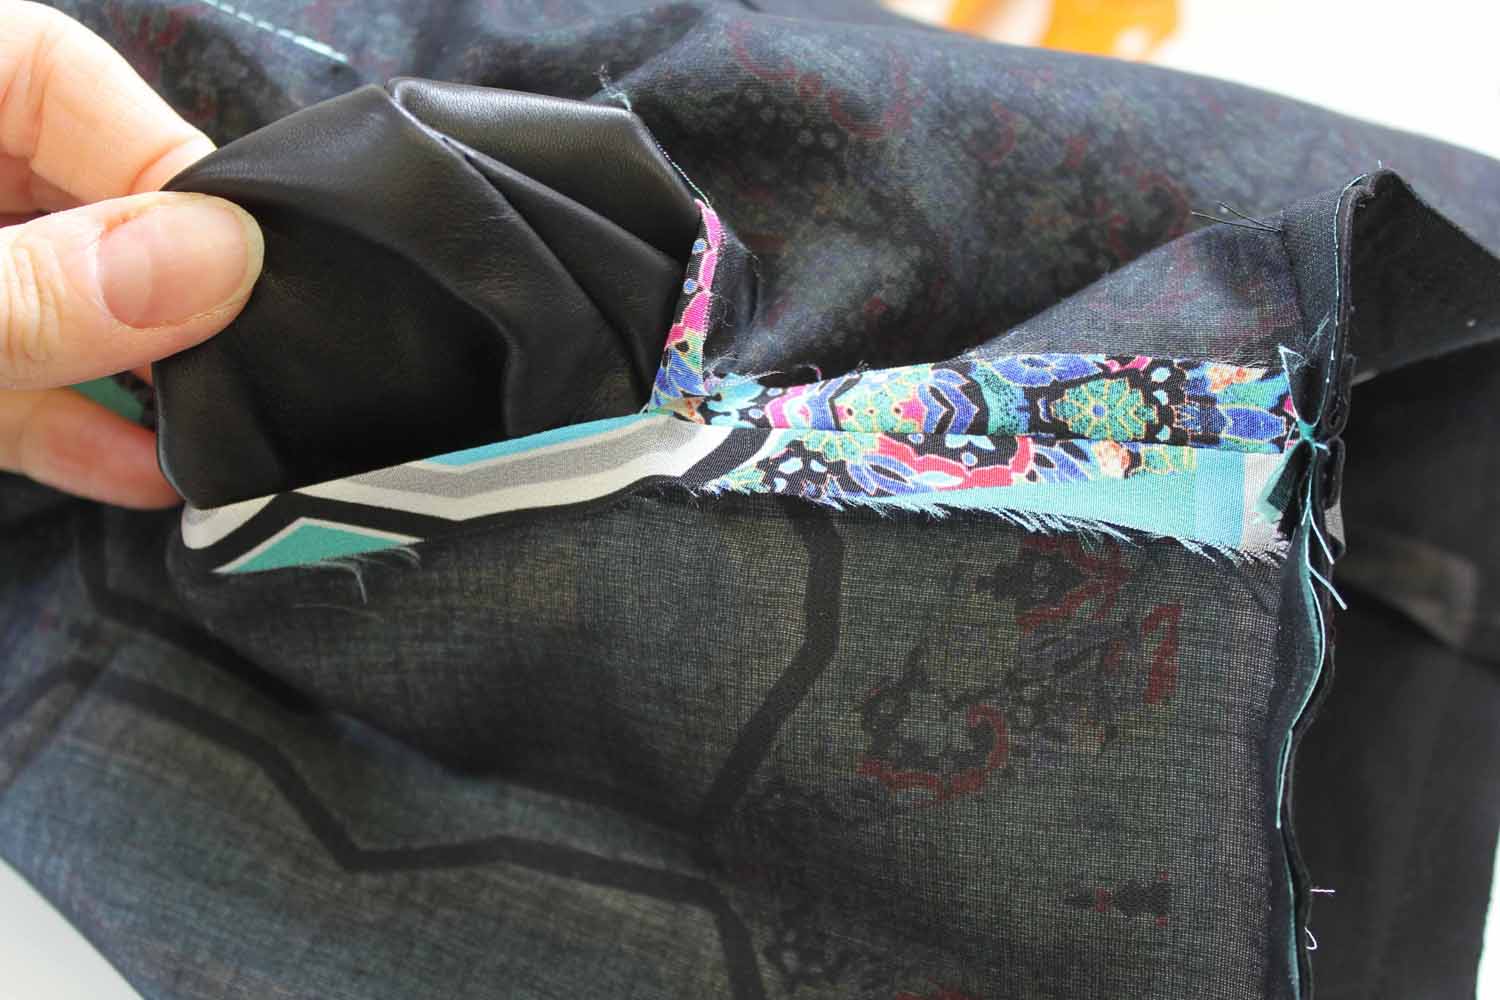
Pop the leather bag inside the lining, right sides facing and clip together, then stitch all way around top edge opening…

Pull the bag through the hole we left in the lining earlier…
Slip stitch the hole in the lining by hand…

Roll the seam with your fingers until the stitches are right on the edge, then topstitch round the opening of the bag.

Cor, I love a bit of top stitching!
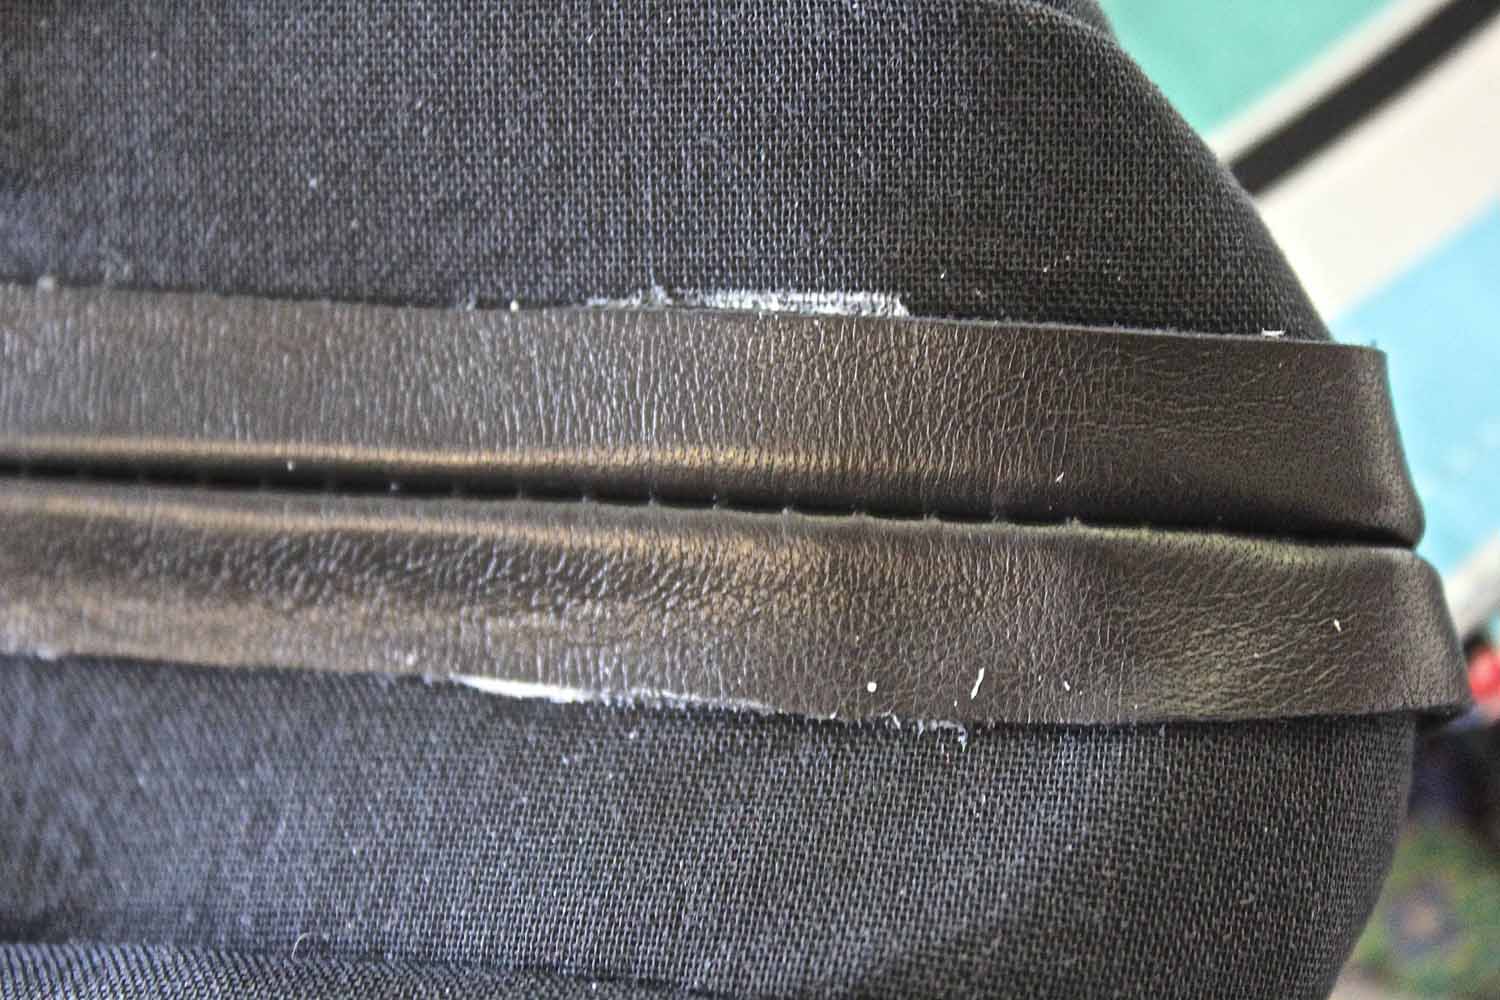
To give the bag the crisp shape we need to stitch some permanent creases into the leather to give it structure. Keeping the lining free, pinch the creases with your fingers and holding firm with clips if necessary stitch along these lines…


Like so…

Now for the finishing touch. Using a large jump ring and a length of chain (have a look in charity shops for suitable bits of jewellery) add a wrist strap onto your bag…


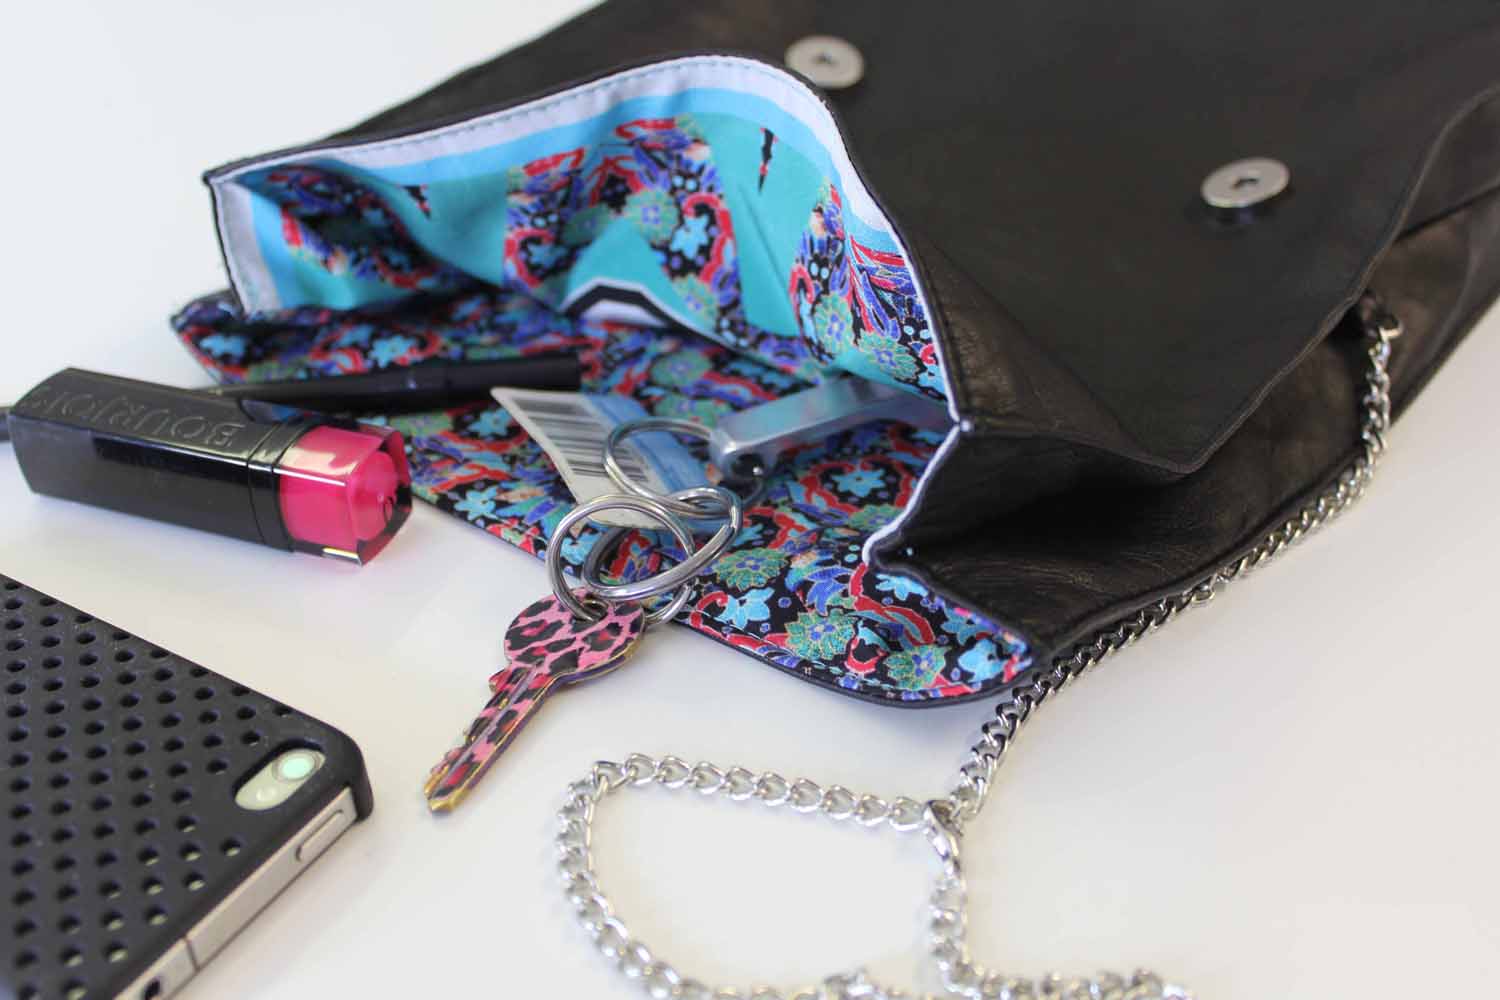
Fill with all girly essentials, and roll over top twice to fasten…
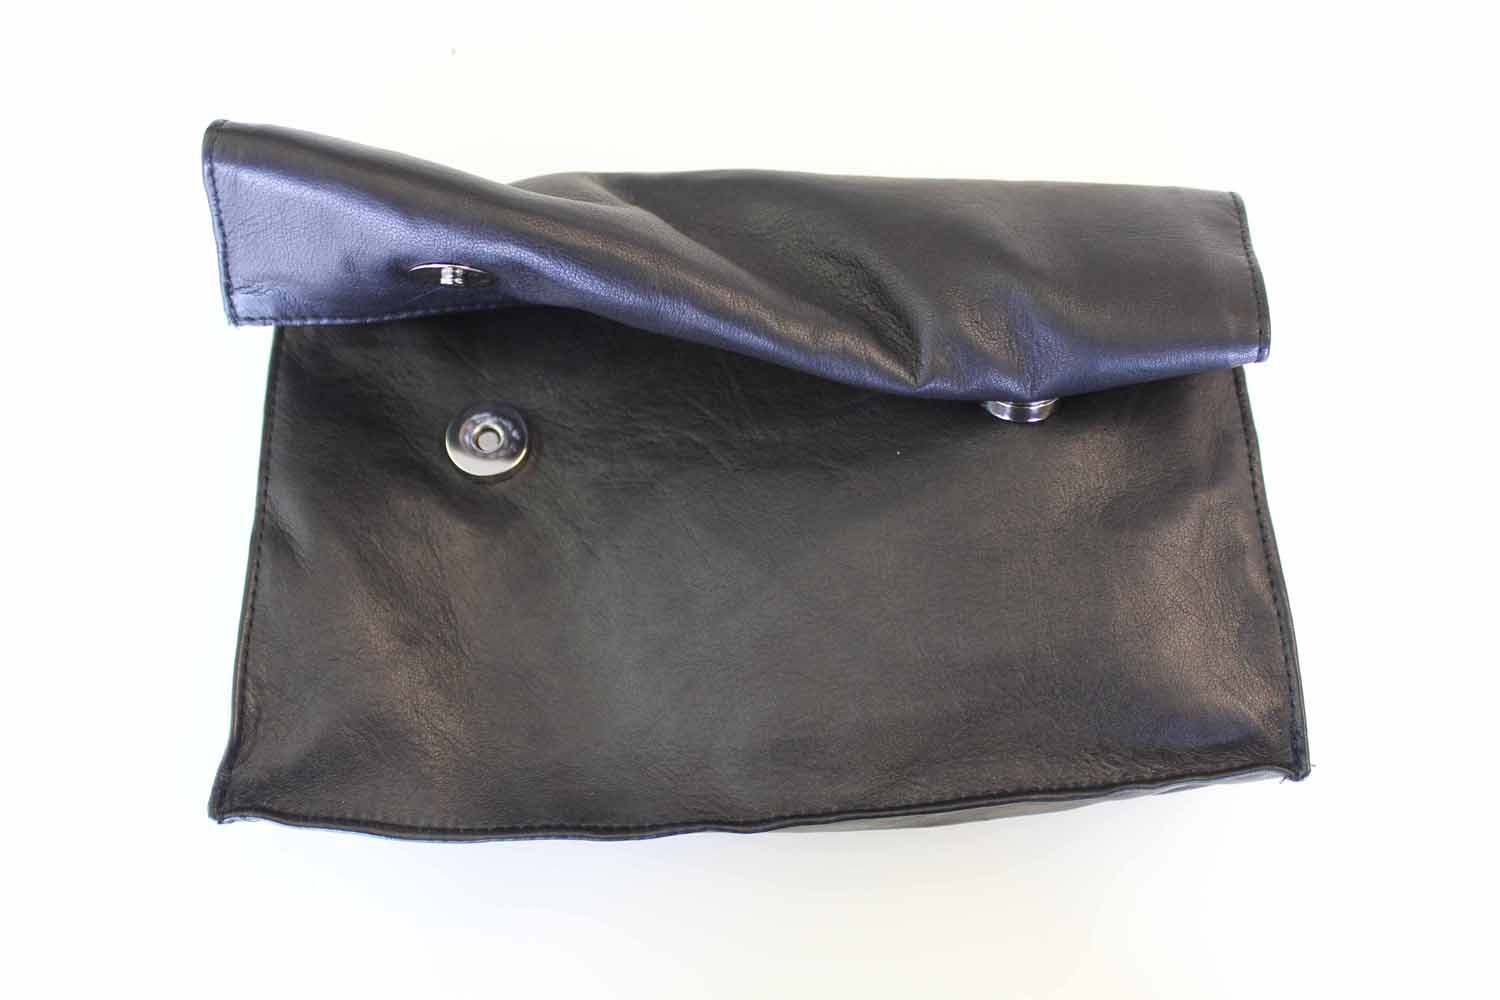
Leather clutch ready for a night out.

Don’t forget your favourite lippy…

If you’ve been inspired to make yourself a clutch I’d love to see it. Send me a picture at my Facebook page. https://www.facebook.com/pages/MakeIt-Workshops/115298181836514?ref=hl
Until next time, happy sewing! X